This article may contain affiliate links. If you buy through them we may earn a commission at no extra cost to you.
A 3-by-4-foot pantry can hold a surprising amount when you stop storing things on the floor and start using the full wall height. The fix isn’t a bigger pantry—it’s shelves adjusted to match your containers, a clear zone for each food category, and about three hours on a Saturday morning.
Measure Your Space and Plan Your Layout
Before buying anything, measure the pantry width, depth, and height. Note where the door swings and whether any corners are cut off by a wall or pipe. I sketch a rough diagram on paper—it takes five minutes and saves me from buying a shelf unit that won’t fit.
Check the gaps between existing shelves. Standard spacing runs 12 to 16 inches; if yours is 18 or more, you’re losing room that stackable containers or a riser could claim. Also check the door. Most pantry doors handle a narrow over-the-door organizer without blocking the swing, which frees shelf space for heavier items.
Install or Adjust Shelving for Maximum Height
Most small pantries waste the top 18 inches of wall space. A wall-mounted 4-tier metal shelf unit runs $40–$80 and lets you set shelf heights to match your actual containers rather than the previous owner’s guesses.
Vertical stacking strategies
- Run shelves to the ceiling; use the top shelf for bulk backstock or rarely used appliances.
- Add a $10–$15 plastic riser on deeper shelves to stack cans or jars two levels high.
- Hang a 6–8-inch-deep wire shelf above the main shelves if clearance allows—these are ideal for spice jars or small boxes.
Sort and Categorize Before You Organize
Empty the entire pantry first. It takes 30 minutes and almost always uncovers expired food and duplicates you forgot you had. In a neglected pantry, this step alone typically frees 20–30% of shelf space. Group what remains into categories:
- Grains and pasta
- Canned vegetables and beans
- Canned fruits and sauces
- Baking supplies (flour, sugar, baking powder)
- Spices and seasonings
- Snacks
- Oils, vinegars, and condiments
- Breakfast items (cereal, oats, granola)
Toss anything expired or that you genuinely won’t cook with. Donating unopened non-perishables to a food bank is worth the extra step.
Use Clear, Stackable Storage Containers
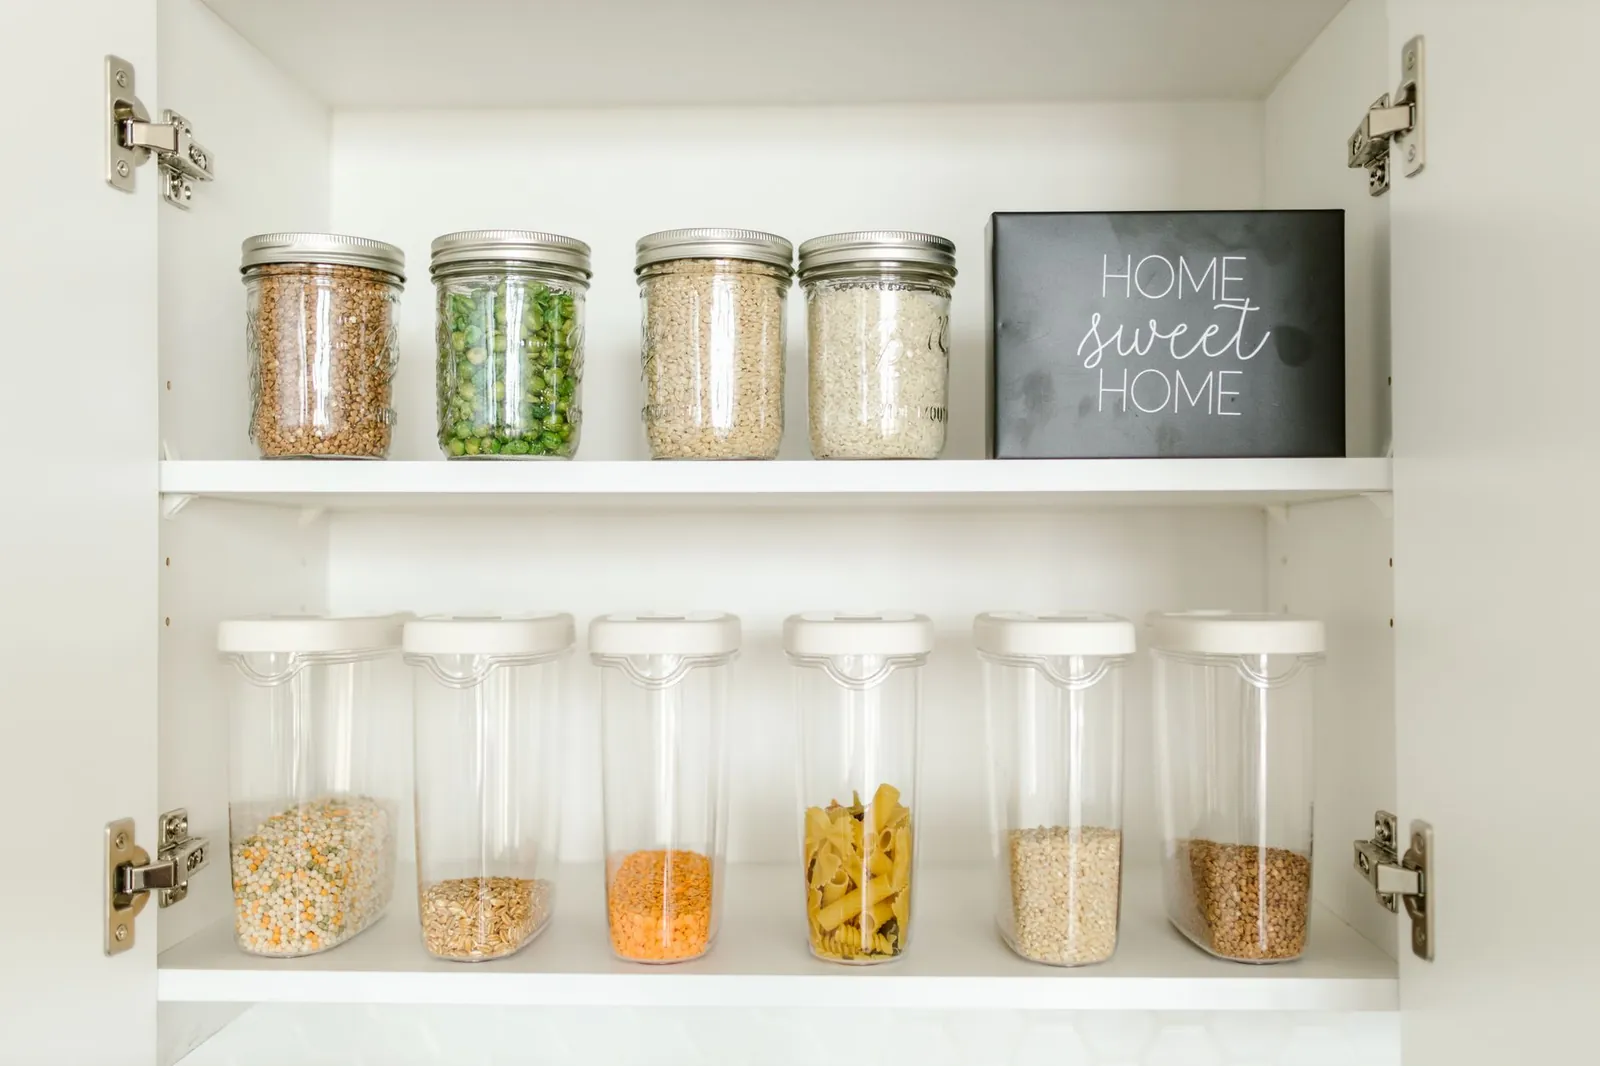
Matching containers stack without gaps, show fill levels at a glance, and take up less room than the original cardboard boxes. I buy in two or three standard sizes so they nest cleanly—a 2-liter, a 1-liter, and a small square jar cover most dry goods.
Container types and costs
- Plastic bins with lids ($3–$8 each): Good for flour, sugar, pasta, and cereal. OXO and Rubbermaid hold up well to daily use.
- Glass jars ($2–$6 each): Better for spices and nuts—they seal tighter and don’t absorb odors over time.
- Pull-out baskets ($5–$15): Ideal for snacks, granola bars, or tea packets that would otherwise get buried.
- Lazy Susan turntables ($8–$15): Worth every dollar in a corner—spin once instead of moving six bottles to reach the one in back.
See our guide to the best pantry storage containers for detailed recommendations by size and material.
Arrange Items by Frequency and Height
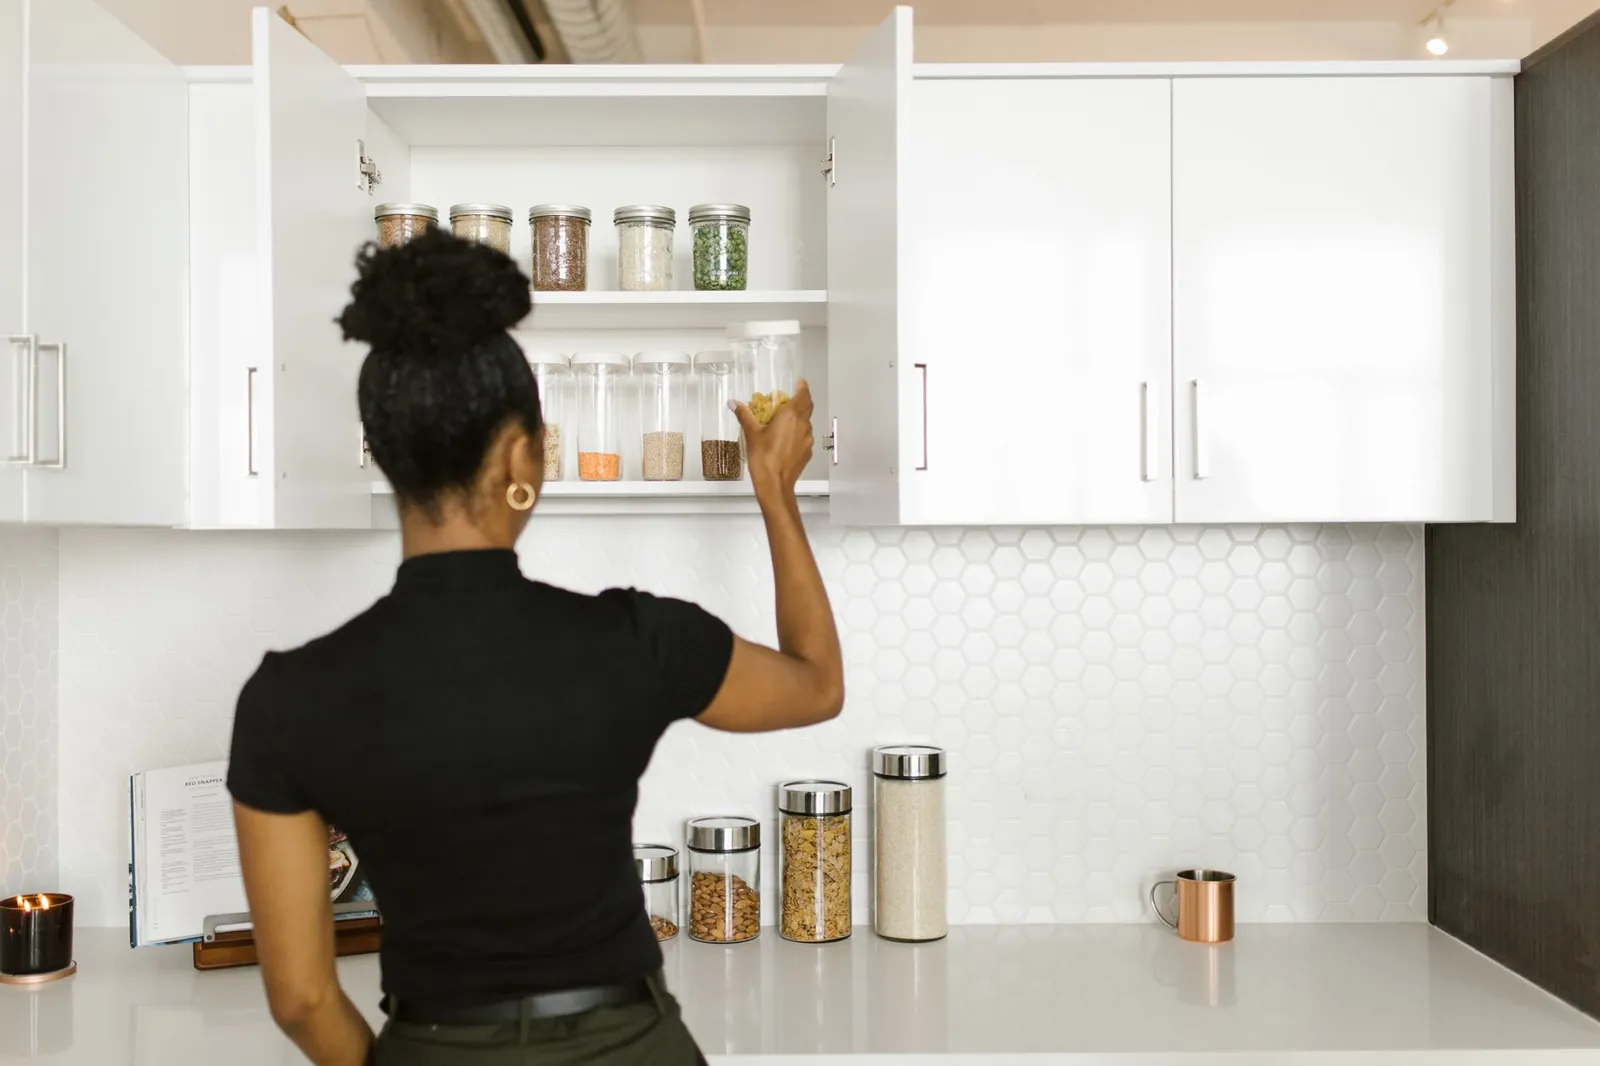
Eye level—roughly 36 to 60 inches from the floor—is prime real estate. That’s where daily-use items belong. Everything else works around them.
Placement rules I follow
- Eye level: Oils, vinegars, everyday spices, snacks, breakfast staples.
- Upper shelves: Lighter items—cereal boxes, crackers, dried pasta, baking supplies.
- Lower shelves: Canned goods, peanut butter, heavier condiments, bulk items.
- Door: Spices and lightweight jars only. Heavy bottles strain the hinges over time.
Keep your most-used items at arm’s reach; everything else fills in around them.
Add Door and Wall Storage
An over-the-door organizer ($15–$30) holds 12–20 small jars or packets and turns dead space into a spice station. If there’s wall space beside the shelves, a pegboard ($20–$40) lets you rearrange hooks and small shelves as your needs change. Adhesive hooks ($1–$3 each) work for lighter items like a measuring cup ring or a narrow cutting board.
Label Everything and Maintain Your System
Labels prevent the two most common small-pantry problems: buying a third jar of cumin and not knowing a container holds bread flour, not all-purpose. A label maker runs $20–$30; a roll of adhesive labels costs $5. I mark both the contents and the purchase date on anything I transfer to a container.
Once a month, spend 15 minutes wiping shelves, moving older items to the front, and replacing any labels that have peeled. That’s enough to keep a small pantry from sliding back into chaos.
Frequently asked questions
How much should I spend organizing a small pantry?
You can do it for $50–$150. If you need shelving, budget $40–$80 for a basic adjustable unit; containers run $30–$50; labels cost $5–$10. If shelves are already in place, containers alone make the biggest difference. Buy nothing until you’ve emptied and measured—it’s easy to overbuy organizers that don’t fit your actual space.
What’s the best way to store pasta and grains in a small pantry?
Transfer them to matching airtight containers and stack vertically, or use a small wire riser to create two tiers on one shelf. Airtight plastic or glass also keeps pests out better than the original box. Label each container with the item and purchase date. Decanted pasta and rice take up roughly 40% less shelf space than the original bulky boxes.
Should I remove items from their original packaging?
For dry goods—flour, sugar, pasta, cereal—yes. Airtight containers save space and extend shelf life. For canned goods, boxed items you buy infrequently, or anything with cooking instructions you actually use, keep the original packaging. The trade-off is space savings versus the hassle of transferring and relabeling.
How do I organize a pantry with no adjustable shelves?
Stackable bins, shelf risers ($10–$20), and pull-out baskets create layers on fixed shelves without any installation. An over-the-door organizer and adhesive wall hooks add storage around the shelves. It’s not as flexible as adjustable shelving, but it gets most of the way there.
How often should I reorganize my pantry?
A full reorganization once a year is enough if you keep up with monthly maintenance. The monthly 15-minute check—wiping shelves, rotating stock, replacing labels—is what prevents the slow drift back to chaos that makes a full redo necessary.

Ellen has renovated three houses, killed more seedlings than she admits, and writes about both.