This article may contain affiliate links. If you buy through them we may earn a commission at no extra cost to you.
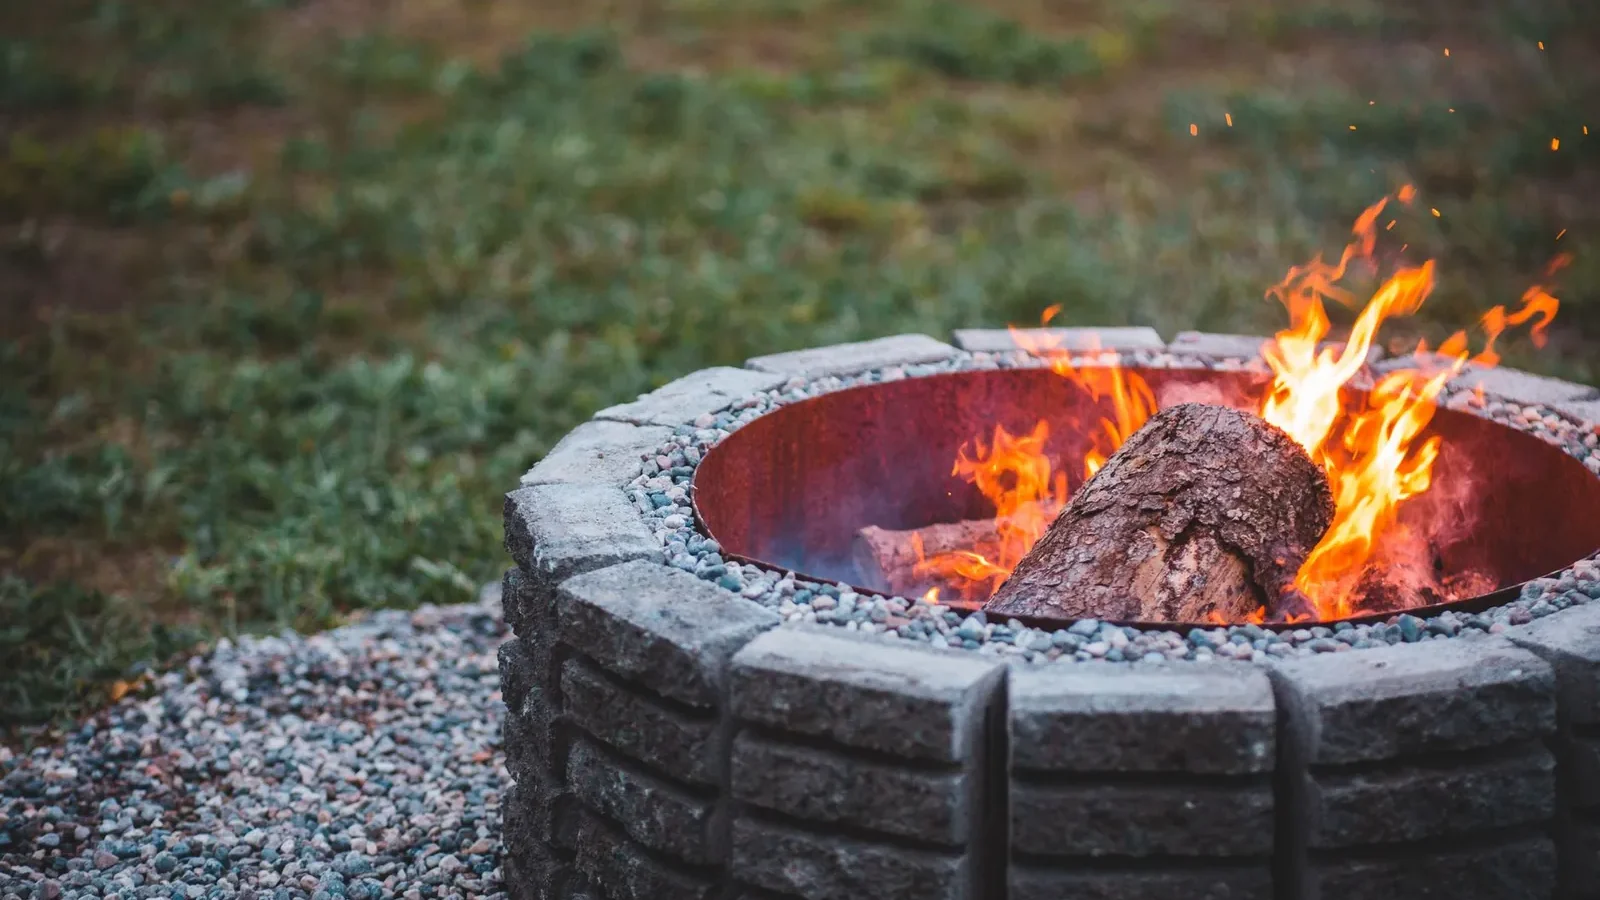
A basic stone fire pit takes most homeowners four to six hours to build, costs $150–$400 in materials, and requires nothing more than a shovel, a level, and a bag of gravel. The steps below walk you from bare lawn to first fire.
Choose Your Fire Pit Location
Measure at least 10–12 feet from any structure—house, shed, fence, or overhead trellis. Check your local fire code before you dig; some jurisdictions require 15 feet or more, and a quick call to your fire marshal takes five minutes. Clear a 10-foot-diameter area down to bare soil.
Find level ground, or plan to level it with a shovel. Sloped sites let embers roll downhill and make seating awkward. Avoid low spots that collect water—standing water ruins a fire and can cause steam pockets to pop in heated stone. If your yard slopes, build on the high side rather than at the bottom of a draw.
Check wind patterns and sight lines
Spend an afternoon watching how wind moves through your yard at the hour you’ll typically use the pit. Prevailing wind should carry smoke away from seating areas and neighboring properties—a site downwind of your patio works well. Also confirm you have a clear view of the pit from inside the house so you can monitor it without going outside.
Gather Materials and Tools
For a 3-foot-diameter pit, I typically gather:
- Pavers, bricks, or stones — 36–50 pieces depending on size
- Gravel or coarse sand for the base — $8–15 per bag; you’ll need two to three bags
- Shovel and level — tools you likely own
- Work gloves and safety glasses — $5–10
- Optional: steel fire ring or grate — $40–150
A simple stone ring runs $150–250. Adding a steel grate to hold logs off the ground costs another $60–150, but it improves airflow, contains embers better, and makes ash cleanup faster. Reclaimed bricks from a salvage yard or online marketplace are cheaper than new and often look better once they’ve taken on a little char.
Material durability and heat resistance
Stone choice matters more than most guides admit. River rocks and any stone pulled from a wet area trap moisture inside; when heated, that moisture expands and the stone can crack or pop violently. Granite, fire brick, and dense sandstone handle repeated heating well. Limestone and shale do not. If you’re unsure about a stone you found, heat a sample with a propane torch for two minutes—safe material won’t crack or sound hollow afterward.
Prepare the Ground
Mark the perimeter with a length of rope staked at the center or a ring of chalk. Dig down 6–12 inches depending on how sunken you want the pit. I settle on 8 inches—deep enough to contain ash and debris, shallow enough that seating stays comfortable. Pull out any roots, rocks, or debris.
Spread 2–3 inches of gravel or coarse sand on the bottom and level it carefully. This base layer drains rainwater before it pools. An uneven base causes pavers to settle at different rates and opens gaps where embers can escape.
A solid, level base prevents pavers from tipping inward as they settle over time, keeping your fire pit safe and functional for years.
Build the Ring
Lay your first course of pavers or stones around the perimeter, working in a circle with stones touching edge to edge. Check each stone with a level as you go—gaps let embers escape and weaken the structure as it shifts through heating and cooling cycles.
Single-ring vs. multi-ring construction
A single ring stacked 12–18 inches high works fine for casual backyard fires. For a taller pit (18–24 inches) or a longer-lasting structure, add a second course with joints staggered like brickwork. Staggered joints distribute weight more evenly and resist the inward lean that single-course rings develop over a few seasons.
Skip mortar entirely. Stones need room to expand and contract with heat—mortar cracks under that stress and traps moisture that causes freeze-thaw damage in cold climates. A dry-stacked ring is easier to repair and actually outlasts mortared construction in most backyards.
Add a Metal Ring or Grate (Optional but Recommended)
A steel fire ring ($50–100) sits inside the stone ring and shields the inner stone faces from the hottest part of the flame, which meaningfully extends how long your stones last before they crack or spall. A grate ($60–150) sits above the ring, holds logs off the ground, and lets ash fall through for easier cleanup.
Without a metal ring, you’ll rake ash out by hand more often and watch for stones cracking from concentrated heat. It’s manageable, just more maintenance each season.
Install Drainage and Finishing Touches
If you’re using a metal ring, punch or drill a few small drainage holes around its base so water doesn’t pool after rain. If you built without one, the gravel base handles drainage—check after the first heavy rain to confirm water isn’t sitting.
Rake the surrounding area smooth, then consider laying landscape fabric topped with gravel in a 10-foot radius. It creates a clean finished look, suppresses weeds, and makes it easy to spot and sweep up any embers that escape the ring. Budget another $30–50 for fabric and gravel.
Fire Pit Safety Essentials
Before you light the first fire:
- Never leave a fire unattended. Embers can reignite hours after the flames die down.
- Keep a garden hose, a bucket of water, or a fire extinguisher within 10 feet. I keep my hose coiled and connected during fire season.
- Don’t burn treated lumber, plywood, or painted wood—the chemicals release toxic fumes.
- Burn only seasoned hardwood (oak, maple, birch) with a moisture content below 20%. Wet or green wood creates excessive smoke and deposits creosote on surrounding surfaces.
- Let fires burn completely down to ash before you leave. Never cover a hot pit with a lid or tarp.
- Check local burn bans before lighting. Many areas restrict open burning during dry stretches, and fines run $100–500 in jurisdictions that enforce them.
If you’re weighing a fire pit against other outdoor heating options, our patio heater vs. fire pit comparison covers the cost and convenience trade-offs of each.
Frequently asked questions
How long does it take to build a fire pit?
A simple stone ring takes 2–4 hours for most people. Site prep and material gathering add another 1–2 hours. Installing a metal ring or grate adds about 30 minutes, and spreading gravel around the perimeter adds another hour.
Can I build a fire pit on a deck or patio?
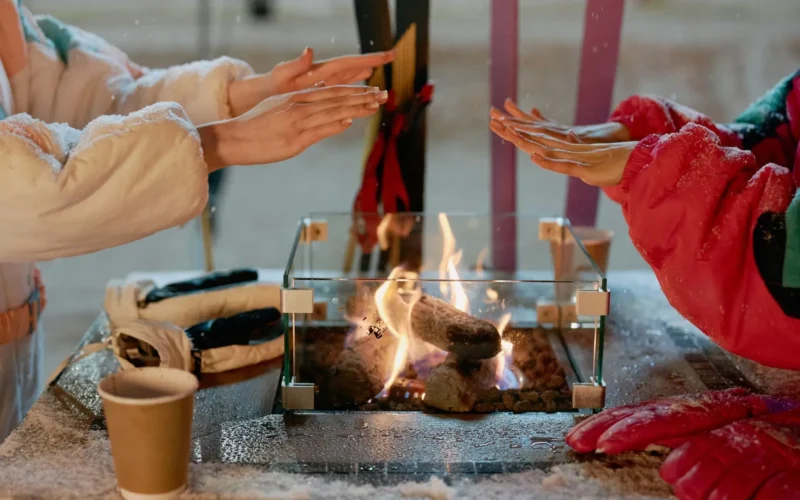
Not an open wood-burning pit—it’s a serious fire hazard on any combustible surface. If you want a fire feature on a deck, use a propane or natural gas fire table rated for deck use with an enclosed flame. These run $400–1,200 but are genuinely safe on wood or composite decking.
Do I need a permit to build a fire pit?
Requirements vary by location. Many municipalities allow residential fire pits under 3 feet in diameter without a permit; others require one regardless of size. Call your local building department or fire marshal before you dig—a five-minute conversation is easier than filling a hole you weren’t supposed to dig.
What’s the best wood to burn?
Hardwoods—oak, maple, ash, birch—burn cleanly, produce less smoke, and throw fewer sparks than softwoods. Pine and spruce contain resin that creates excessive sparks and coats nearby surfaces with creosote. Whatever species you choose, burn only seasoned wood dried for at least six months, with a moisture content below 20%.
How do I clean ash out of the fire pit?
Wait at least 24 hours after the last fire—ash insulates well and stays hot longer than it looks. Scoop cooled ash into a metal bucket (not plastic) and dispose of it in your regular trash, or work it into a compost pile in small amounts. A fireplace ash shovel ($8–15) fits the curved base of a stone ring far better than a standard garden shovel.

Ellen has renovated three houses, killed more seedlings than she admits, and writes about both.