This article may contain affiliate links. If you buy through them we may earn a commission at no extra cost to you.
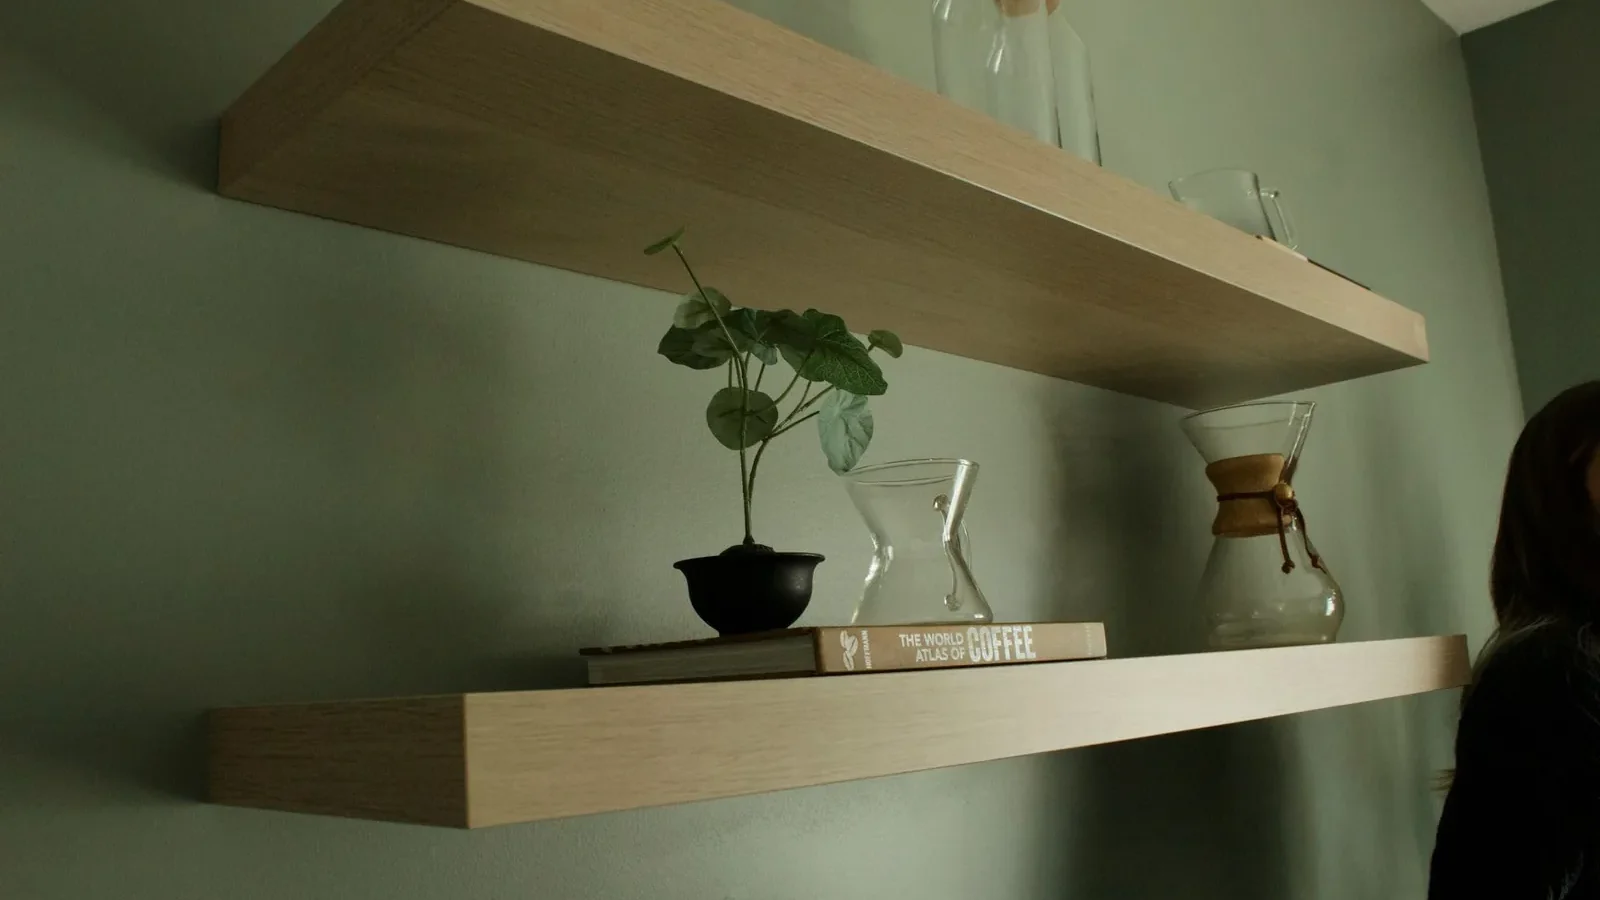
Floating shelves go up in 1–2 hours per shelf and cost $30–$150 in materials. The job comes down to three things: finding studs, choosing brackets rated for your load, and keeping everything level. Get those right and the shelf will outlast the wall paint around it.
What You’ll Need Before Starting
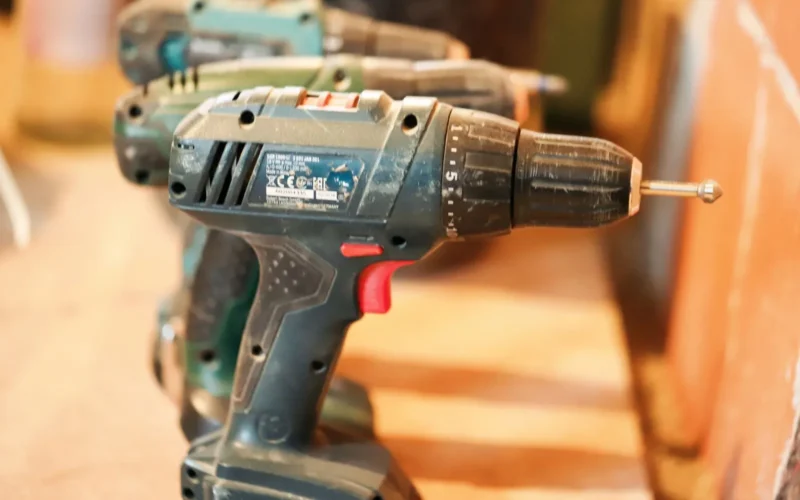
A stud finder ($15–$40) is the one tool I won’t skip. Beyond that: a drill with bits, a level, a socket wrench or adjustable wrench, a tape measure, a pencil, and safety glasses.
For materials, buy brackets rated for at least twice the weight you plan to put on the shelf. A quality pair runs $20–$80. You’ll need lag bolts—typically 3/8-inch diameter, 3–4 inches long—and wall anchors as a backup if studs aren’t where you need them. The shelf itself (solid wood, laminate, or engineered board) costs $30–$200 depending on length and material.
Always locate studs first; drywall alone won’t hold a loaded shelf for long.
Finding Studs and Marking Your Installation Points
Run the stud finder slowly across the wall at your target shelf height—typically 12–18 inches below eye level. Mark both edges of each stud with a pencil. Studs are usually 16 inches apart, and most floating shelves need brackets sunk into at least two of them.
Once you’ve marked the studs, use a level to draw a light horizontal line at your exact shelf height. This line keeps both brackets at the same elevation. I mark each bracket’s bolt holes with a pencil before drilling; it stops the bit from skating across the drywall surface.
Choosing and Installing Brackets
Types of floating shelf brackets
Heavy-duty L-brackets are the most reliable option for most homeowners. Bolted into studs, a good pair holds 50–100+ pounds and costs $25–$60. Some have adjustable depth, which matters if you’re mixing shelf thicknesses.
Concealed rod systems—where steel rods insert into the back or side of the shelf—cost $60–$150 per pair and look cleaner because nothing shows beneath the shelf. The trade-off is precision: you drill into the shelf itself, and the holes must align exactly with the rods.
Installing the brackets
Hold each bracket so its horizontal arm sits on your level line and the vertical plate lands over a stud. Drill a pilot hole slightly smaller than your lag bolt—5/16-inch works for a 3/8-inch bolt—straight into the stud. Stay toward the center of the stud to avoid any electrical runs near the edges.
Thread in the lag bolts and tighten with a socket wrench until snug, then give a quarter-turn more. Over-tightening strips the stud or cracks the bracket; snug is enough. Before fully tightening the second bracket, lay your level across both horizontal arms and confirm they match. A slope of even 1/8 inch over 36 inches is visible once the shelf is loaded.
Preparing and Mounting the Shelf
Some shelves come with a mounting cleat that slides over the bracket arms; others rest directly on top. Check your bracket instructions before cutting or drilling anything.
For shelves without a cleat, I run a thin bead of construction adhesive along the top of each bracket arm before setting the shelf down. It adds a safety margin and eliminates the small wobble that screws alone can leave. Let it cure 24 hours before loading.
Securing the Shelf to the Brackets
Most L-bracket systems have slots or holes that align with the shelf once it’s positioned. Drill pilot holes through those points into the shelf, then drive 2–2.5-inch wood screws to lock the shelf in place. This step keeps the shelf from shifting if someone knocks it from below or loads one side unevenly.
With a concealed rod system, slide the shelf carefully onto the rods—don’t force it—confirm it’s level, and tighten any set screws per the manufacturer’s spec. Forcing a misaligned shelf onto rods can crack the shelf or bend the rods.
Load Testing and Finishing Touches
Before putting anything on the shelf, press down firmly on the outer edge and the center. A properly installed shelf won’t flex or shift at all. If it moves, stop and recheck that both brackets are fully tightened and that the lag bolts are actually in the stud, not just drywall.
If you used construction adhesive, wait the full 24 hours, then start light—a few books or small items—and watch for 48 hours. Load gradually up to the bracket’s rated capacity, which is printed on the bracket or packaging.
In bathrooms or kitchens, seal the shelf’s edges and underside with polyurethane before mounting. Moisture wicks into unfinished end grain first, and that’s what causes warping within the first year.
Common Installation Mistakes to Avoid
The most common problem I see is brackets installed into drywall with no stud behind them. Drywall anchors can hold 20–50 pounds total when installed correctly, but only for light, static loads—not books, plants, or anything that shifts. If studs aren’t where you want the shelf, move the shelf or use a longer board that spans to studs on either side.
Two other mistakes worth calling out:
- Uneven bracket heights. Even a small difference makes the shelf slope visibly once loaded. Measure twice, level before tightening.
- Ignoring weight ratings. A shelf rated for 50 pounds shouldn’t hold 75 pounds of books and trailing plants. Brackets fail suddenly when overloaded, not gradually.
Frequently Asked Questions
Can I install floating shelves on plaster or brick?
Yes, but the process differs. For plaster, use toggle bolts or heavy-duty plaster anchors rated for your shelf’s weight. For brick, use a masonry drill bit and concrete anchors—brick actually grips fasteners more reliably than drywall does. Budget $40–$100 for masonry-grade hardware per pair of brackets.
What if I can’t find studs where I want the shelf?
You have two practical options: move the shelf to a spot where studs are accessible (the safest choice), or use heavy-duty drywall anchors and keep the total load under 25 pounds. For anything heavier—a row of cookbooks, a collection of cast-iron pieces—studs aren’t optional. A longer shelf that spans to studs on both sides is often the cleanest workaround.
How long do floating shelves last?
A properly installed shelf with quality brackets lasts 10+ years without issues. The shelf material is usually what fails first—solid wood outlasts particleboard significantly, especially in humid rooms. Brackets installed into studs rarely fail if they’re not overloaded. In kitchens and bathrooms, sealing the shelf at installation adds years to its life.
Do I need a professional to install floating shelves?
If you’re comfortable with a drill and level, you can do this yourself. Consider hiring a pro if you have plaster walls, need several shelves aligned across a long run, or are mounting above a window or door where stud locations are unpredictable. Professional installation runs $75–$150 per shelf, not including materials.
What’s a realistic weight limit for floating shelves?
It depends on the brackets and how they’re fastened. Most consumer-grade brackets hold 25–50 pounds per pair when bolted into studs. Heavy-duty brackets rated for 75–100+ pounds are available but cost more and require larger lag bolts. Always use the manufacturer’s rated capacity as your ceiling, not your floor—and load gradually the first time to feel for any movement.

Rob is a former carpenter who now explains home repairs so you only have to do them once.