This article may contain affiliate links. If you buy through them we may earn a commission at no extra cost to you.
Old caulk comes out in one clean strip when you score the edges, soak it with a softener for 15–30 minutes, and scrape at a shallow angle. Skip the softener and you’re looking at twice the work and a real chance of gouging the surface underneath. Most jobs—a bathtub surround, a kitchen backsplash—take 45 minutes to 1.5 hours start to finish.
Why Remove Old Caulk
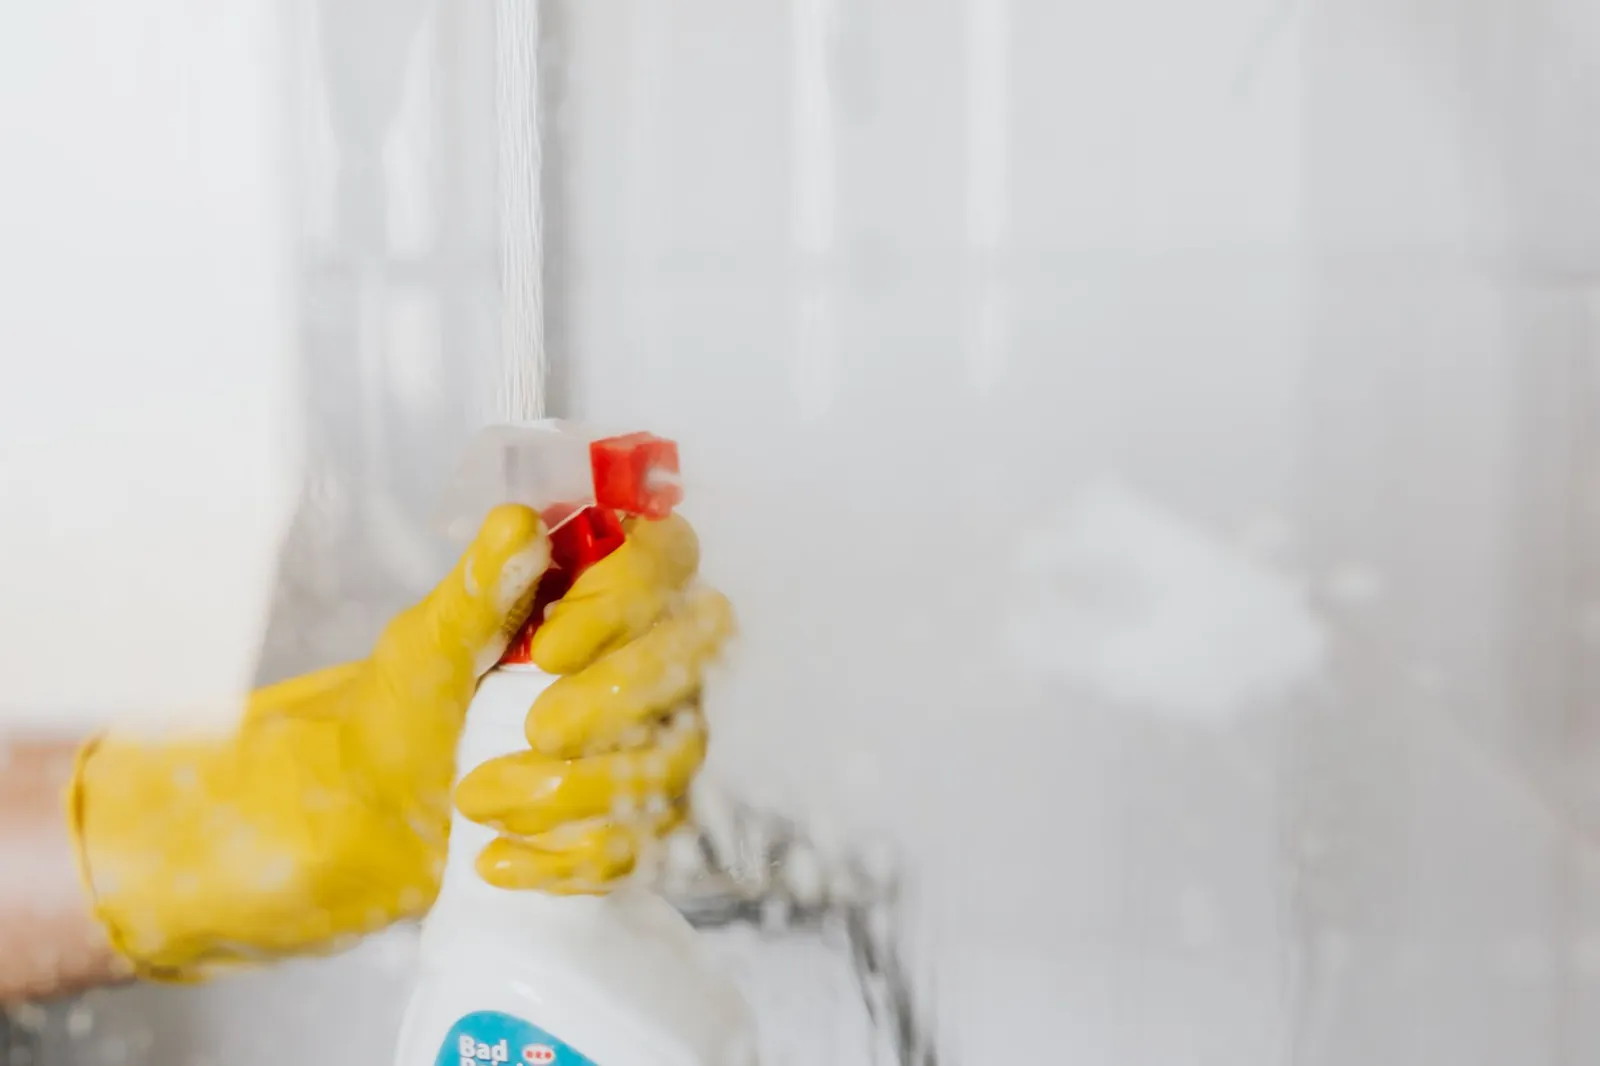
Caulk shrinks and cracks over time, breaking the water seal that protects the substrate behind your tile or tub surround. Once gaps open, mold follows—usually within a few weeks in a wet bathroom. Fresh caulk won’t bond reliably to a degraded bead, so applying new caulk over old is a short-term fix that fails within months. Removing it completely is the only way to get a seal that lasts.
I pull old caulk whenever I can see daylight between the bead and the surface, or when mold has worked its way into the joint. Water damage behind a tub surround runs $500–$2,000 to repair; a tube of caulk remover costs $10.
Tools You’ll Need
Essential tools
- Caulk removal tool or scraper: A dedicated caulk removal tool ($8–15) has a curved blade shaped to slide under the bead without digging into tile or acrylic. A stiff putty knife works but is slower and harder to control at the right angle.
- Utility knife: Fresh blades cost about $0.50 each—worth replacing every job. A sharp blade scores cleanly; a dull one skips and drags, which is when accidents happen.
- Caulk softener: Commercial products like Aqua Caulk Remover ($6–12 per bottle) break down the binder and make scraping dramatically easier. Undiluted white vinegar ($2–3) works on latex caulk but needs a longer soak—closer to an hour versus 15–30 minutes for a commercial softener.
Helpful additions
- Oscillating multi-tool with caulk blade attachment ($80–150 if you don’t own one; $20–30 for the blade alone)
- Heat gun ($25–50) to soften silicone, though it can blister paint or warp acrylic tubs if held too close
- Damp cloth or sponge for residue cleanup
- Safety glasses and gloves
Step-by-Step Removal Process
Step 1: Score the edges
Run a sharp utility knife along both sides of the caulk bead, cutting the bond between the caulk and the surface. Keep the blade nearly parallel to the tile or tub—you’re breaking the adhesive line, not trying to dig the caulk out. This one step cuts your total scraping time noticeably.
Step 2: Apply softener and wait
Apply caulk softener generously along the full length of the bead and let it soak for 15–30 minutes per the product label. Some silicone caulks need a second application. This is where most of your time goes, and it’s time well spent—soft caulk peels away cleanly while hard caulk has to be forced out in fragments.
Step 3: Scrape out the caulk
Slide your removal tool under the softened bead at a 20–30 degree angle, nearly parallel to the surface. Push slowly and let the blade do the lifting. If the caulk grips and won’t budge, stop, apply more softener, and wait another 10 minutes. Forcing it is how you end up with gouge marks in your tub.
On long runs like a full bathtub surround, work in 12-inch sections rather than trying to lift the whole bead at once.
Step 4: Remove residue
After the bulk is gone, you’ll have small bits and dried softener left in the joint. Wipe with a damp cloth first. For stubborn flakes, a plastic-bristle brush loosens them without scratching—avoid wire or metal brushes on tile and acrylic. A second application of softener on sticky residue saves a lot of picking.
Step 5: Final cleanup
Wipe the joint with a clean damp cloth and let it dry fully before re-caulking—at least 1 hour, overnight if there’s any doubt. New caulk needs a dry, residue-free surface to cure properly.
Caulk Type Matters
Not all caulk removes the same way. Latex caulk is water-based and softens quickly—most beads come out in 30–45 minutes total with a commercial remover, or about an hour with vinegar. Silicone caulk is more durable and water-resistant, which also makes it harder to dissolve. Expect longer soak times and possibly a heat gun assist. Polyurethane caulk is the toughest of the three; hand scraping is slow going, and an oscillating multi-tool is often the practical choice.
If you’re not sure what you have, wet a small section. Latex darkens when wet; silicone beads water and stays the same color.
Avoiding Surface Damage
Gouging tile, grout, acrylic tubs, or painted surfaces is the main risk, and it’s almost always caused by the wrong angle or not enough softener.
- Hold the scraper at 20–30 degrees, nearly flat against the surface. Anything steeper starts to dig.
- If you’re scraping hard, stop. Resistance means the caulk isn’t soft enough. Reapply softener and wait.
- Use heat as a last resort on silicone, not a first step. A heat gun held 2–3 inches from an acrylic tub for more than a few seconds can warp it permanently.
- Test unfamiliar tools on a hidden section before working on a visible joint.
Soft caulk comes out cleanly; hard caulk comes out destructively.
When to Use a Power Tool
An oscillating multi-tool with a caulk blade earns its place on big jobs—a full bathroom remodel, for instance, where you’re pulling caulk from three walls, a tub, and a floor perimeter. The vibrating blade cuts through silicone in seconds per inch rather than minutes. If you already own the tool, a blade runs $20–30.
The trade-off is control. The tool moves fast, and a slip leaves a mark. Wear eye protection; the dust is fine and travels. For a single tub or backsplash, hand tools give you more feel and are easier to keep at the right angle.
Common Mistakes to Avoid
- Skipping the softener: Dry-scraping caulk takes two to three times longer and puts the surface at risk. A $10 bottle is the cheapest hour you’ll save all weekend.
- Using a dull blade: Replace utility knife blades every job—a fresh blade at $0.50 is not a place to economize.
- Rushing: Ninety careful minutes beats thirty frantic ones that end with a gouged tub and a repair bill.
- Ignoring mold in the joint: Wipe the cleaned joint with a 1:1 white vinegar and water solution, or a mold-killing spray, before re-caulking. Sealing over mold just traps it.
- Leaving residue: Even small bits of old caulk prevent new caulk from bonding. Run your finger along the joint—it should feel smooth and clean.
What to Do Next
Once the joint is clean and dry, you’re ready to re-caulk. For bathrooms and kitchens, silicone or a silicone-latex hybrid holds up better than pure latex—it stays flexible longer and resists mold. Our guide on the best caulk for kitchen and bathroom covers which products work best by location. If you’re tackling a bathtub surround specifically, the step-by-step bathtub caulking guide walks through cutting the tube, laying the bead, and tooling it smooth.
Frequently asked questions
Can I use vinegar to remove caulk?
Yes, on latex caulk. Soak the bead with undiluted white vinegar and let it sit for 45 minutes to 1 hour, then scrape. It costs almost nothing but works more slowly than a commercial softener. Silicone caulk won’t soften with vinegar—use a dedicated silicone remover or a heat gun instead.
How long does it take to remove caulk?
A bathtub surround or kitchen backsplash typically takes 45 minutes to 1.5 hours with softener and the right tools. Stubborn silicone or polyurethane caulk on a long run can push that to 2–3 hours. Most of that time is waiting for the softener to penetrate, not active scraping.
Will removing old caulk damage my tile or tub?
Not if you use softener and keep your scraper at a shallow angle. The risk comes from forcing dry caulk or holding the blade too steep. If you meet real resistance, reapply softener and wait—don’t push harder.
What’s the best caulk removal tool?
A dedicated caulk removal tool ($8–15) with a curved blade is the right choice for most homeowners—it’s shaped to follow the joint without gouging. For large-scale removal, an oscillating multi-tool with a caulk blade ($20–30 for the blade) is faster but requires a steadier hand.
Do I need to remove all the old caulk, or can I caulk over it?
Remove it all. New caulk won’t bond reliably to old, degraded material, and you’ll see failures within a few months. The 45–90 minutes spent removing old caulk is what gives new caulk a realistic 5-year lifespan.

Rob is a former carpenter who now explains home repairs so you only have to do them once.