This article may contain affiliate links. If you buy through them we may earn a commission at no extra cost to you.
The right patch for a drywall hole depends on one thing: diameter. Nail holes need only joint compound and a putty knife—15 minutes of work, under $5 in materials. Holes from 1 to 6 inches across need a self-adhesive patch or mesh tape plus two or three coats of compound. Anything bigger than 6 inches means cutting out a section and framing a new piece of drywall, which is a separate job.
What size hole are you fixing?
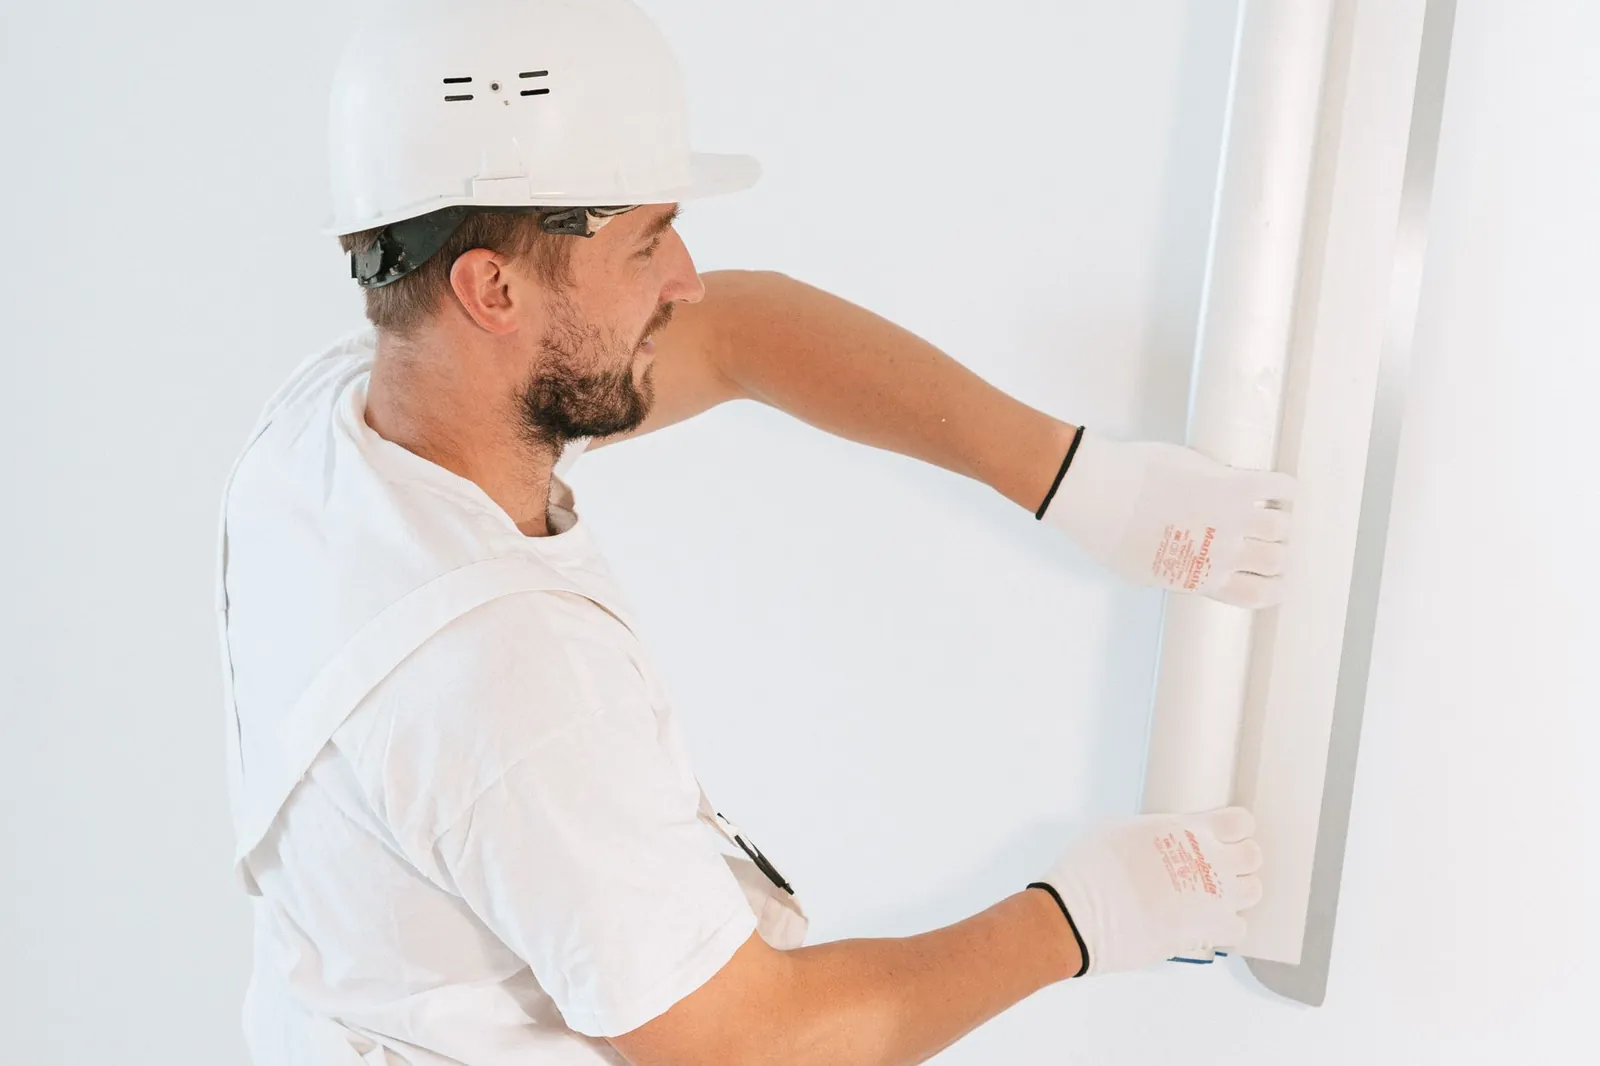
Nail holes and small dents under 1 inch are the easiest fix—15 minutes of active work spread over two days of drying. Holes from 1 to 6 inches, whether from a door handle, a pulled anchor, or an accidental impact, need a patch for backing before compound will hold. I focus on both categories here, since they cover the vast majority of household repairs.
Materials you’ll need
Buy only what the hole size requires. A basic drywall repair kit runs $8–15 and covers multiple small repairs.
For nail holes and small dents
- Joint compound (all-purpose, 1 quart): $4–6
- Putty knife (2-inch): $3–5
- Sandpaper (120-grit and 220-grit): $2–4
- Primer and paint (if you don’t have matching paint on hand): $8–12
For medium holes (1–6 inches)
- Self-adhesive drywall patch or mesh tape: $3–8
- Joint compound (1 quart all-purpose): $4–6
- Putty knife (4-inch and 6-inch): $8–12
- Sandpaper (120-grit and 220-grit): $2–4
- Primer and paint: $8–12
I keep a small tub of pre-mixed all-purpose compound in my garage. It’s messier than powder but needs no mixing and stays workable longer on hot days.
Preparing the hole
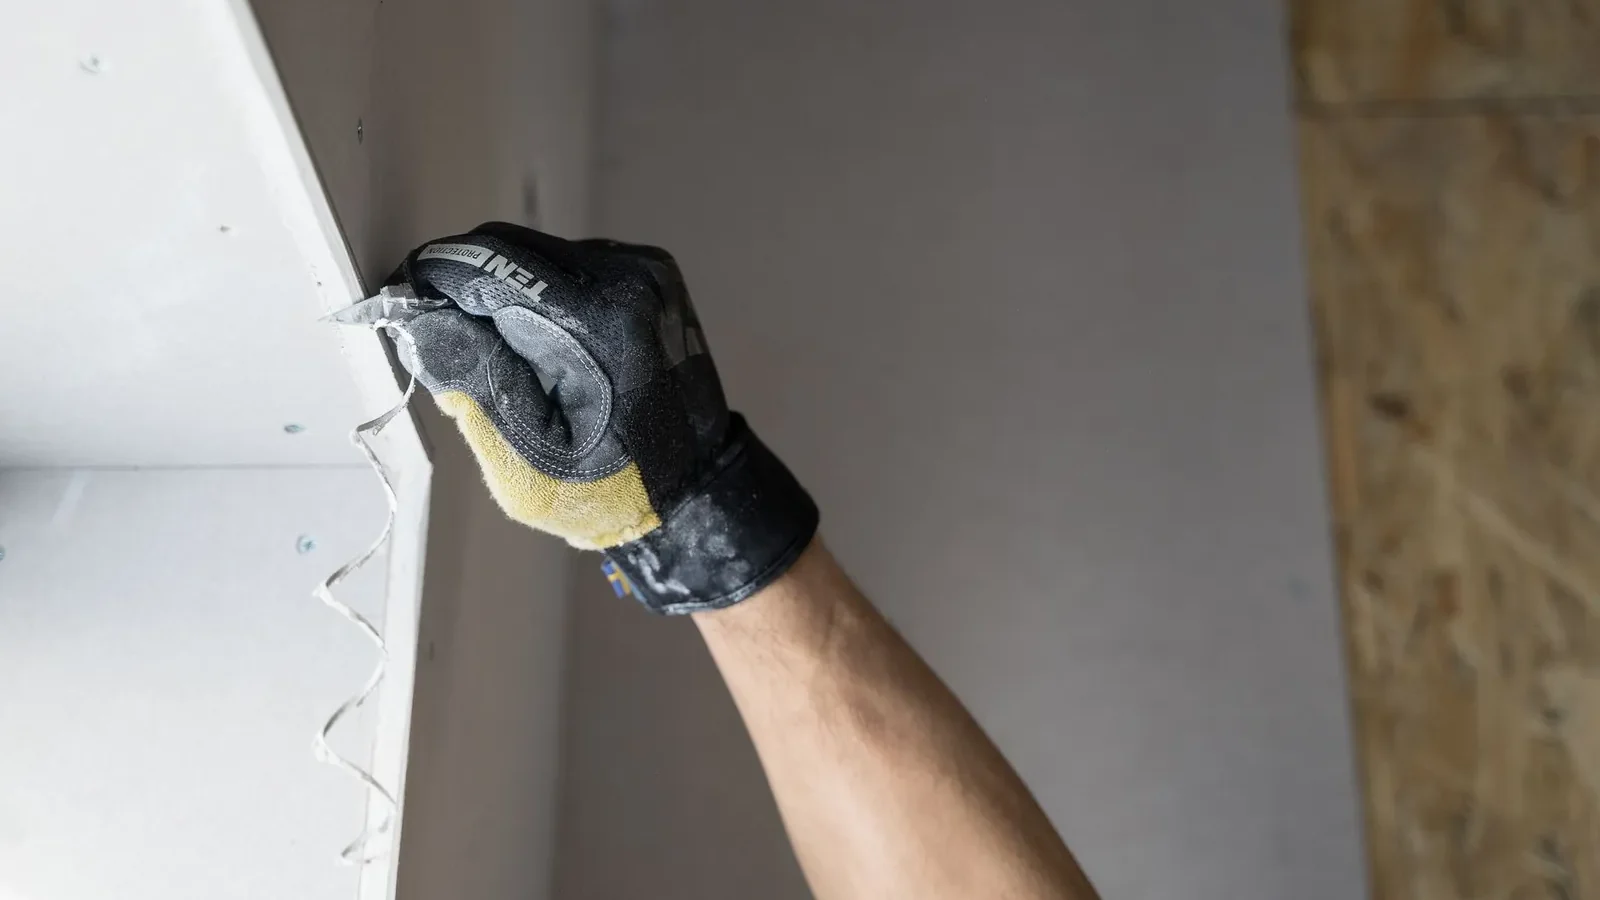
Use a putty knife to scrape away any loose drywall, paper, or paint around the hole’s edge. For nail holes, a damp cloth wipe is enough. For larger holes, I run a vacuum around the edges first—compound won’t bond to debris. Follow with a barely damp cloth to clear dust, then let the surface dry 5 minutes before touching compound.
If the edges are crumbly or the drywall feels soft, stop and look for water damage or mold behind the wall. Patch compound won’t stick to compromised drywall, and mold needs to be addressed before you close the wall back up.
Patching small holes (nail holes to 1 inch)
- Apply compound. Load a 2-inch putty knife with all-purpose joint compound and press it firmly into the hole at a slight angle. Overfill slightly—compound shrinks as it dries. Smooth the surface level with the wall.
- Let it dry. All-purpose compound dries in 2–4 hours in low humidity, 4–6 hours when it’s humid. Pre-mixed compound runs slower. When in doubt, wait overnight.
- Sand smooth. Use 120-grit sandpaper in light circular motions to feather the edges into the surrounding wall. Wipe dust with a damp cloth.
- Apply a second coat if needed. If the hole still shows or the surface is uneven, apply another thin coat and repeat steps 2–3.
- Prime and paint. Primer over bare compound is not optional—skip it and the paint absorbs unevenly, leaving a dull halo. One coat of primer, then paint to match.
A second thin coat of compound beats one thick coat—thick coats crack as they dry.
Patching medium holes (1–6 inches)
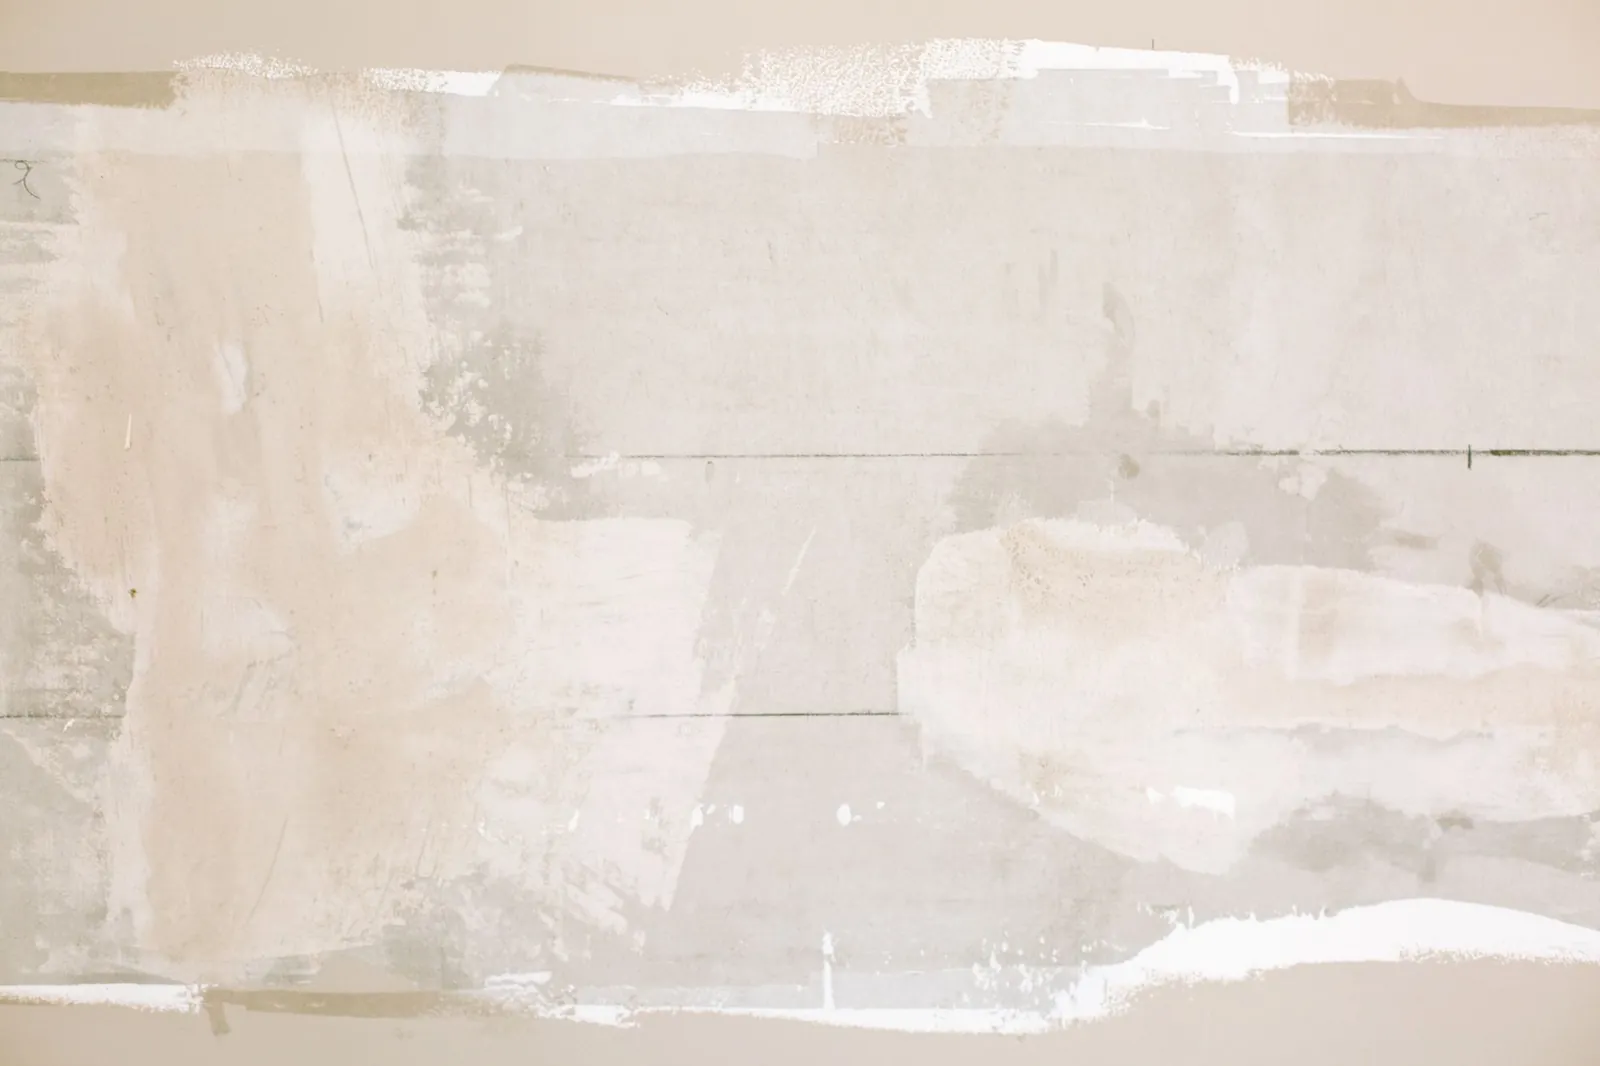
Medium holes need a backing to support the compound. Self-adhesive patches are faster than mesh tape and less frustrating for most homeowners.
Using a self-adhesive patch
- Size the patch. It should extend at least 2 inches beyond the hole on every side. For a 3-inch hole, use a 7-inch patch. Most packs include multiple sizes.
- Apply the patch. Peel the backing, center it over the hole, and smooth out air bubbles with your palm or the flat of a putty knife.
- First coat of compound. With a 4- or 6-inch putty knife, spread a thin coat of joint compound over the patch and 2 inches beyond its edges. The goal is to bury the patch edges so they won’t telegraph through the finish.
- Dry and sand. Let dry 4–6 hours, then sand lightly with 120-grit. Wipe dust.
- Second coat. Feather this coat 3–4 inches beyond the patch edges. That wider spread is what makes the patch disappear.
- Final dry and sand. Dry another 4–6 hours, then finish with 220-grit for a smoother surface. Wipe dust.
- Prime and paint.
Using mesh tape (alternative)
Mesh tape costs $2–3 less than a patch kit but demands more compound and more skill to hide the tape edges. Apply tape over the hole, then build three coats of compound, feathering each coat wider than the last. It’s a good method if you’re comfortable with a knife; otherwise the self-adhesive patch is faster and more forgiving.
Sanding and finishing
Sanding makes or breaks the repair. Use 120-grit after the first coat, 220-grit for the final pass. Work in light circular motions rather than back-and-forth strokes—circles feather the edges instead of cutting lines into the compound. Let the sandpaper do the work; pressing hard creates depressions.
To check your work, hold a flashlight at a low angle across the patch. Bumps and shallow dips that look flat in normal light show up immediately. Sand those spots smooth before priming. The patch should feel flush with the surrounding wall when you run a finger across it.
Bring a paint chip from your wall to the store to match both color and sheen. Flat and matte finishes hide patches better than satin or semi-gloss. Apply paint with a small brush or roller, feathering the edges into the surrounding wall. Two coats usually give full coverage over primer.
Common mistakes to avoid
- Skipping primer. Bare compound is porous. Paint sinks in unevenly and leaves a dull spot even after it dries.
- One thick coat. Compound shrinks as moisture leaves. A coat thicker than about ⅛ inch will crack. Two or three thin coats are faster in the end.
- Sanding too soon. Partially dry compound gums up sandpaper and pulls away from the wall. Wait the full drying time on the label.
- Over-sanding. Aggressive pressure can punch through the patch or hollow out a depression. Light circular passes, repeated as needed.
- Mismatched sheen. A flat patch on a satin wall catches light differently than the surrounding surface. Match the sheen, not just the color.
Frequently asked questions
How long does drywall compound take to dry?
All-purpose joint compound dries in 2–4 hours at low humidity and 4–6 hours when it’s humid. Pre-mixed compound runs 4–8 hours. Lightweight compounds dry faster—sometimes 1–3 hours—but are harder to sand to a smooth finish. Check your product label; when in doubt, wait overnight before sanding.
Can I patch drywall with caulk instead of joint compound?
Caulk works for hairline cracks but not holes. It doesn’t sand smooth, shrinks noticeably, and shows brush strokes under paint. Use joint compound for holes; save caulk for gaps where drywall meets trim.
What if the patch keeps cracking?
Cracks mean the compound dried too fast or was applied too thick. Thin coats and good ventilation—but not direct heat—prevent this. If it happens, sand out the crack, apply another thin coat, and let it dry slowly. In very dry climates, lightly misting the patch with water as it sets can slow evaporation enough to prevent cracking.
Do I need to use primer, or can I paint directly?
Primer is worth the extra step. Bare compound absorbs paint unevenly, leaving a dull halo around the patch even after two coats of color. A single coat of primer—around $6–10—seals the compound and usually saves you one coat of paint.
How do I patch a hole near a corner or edge?
The patch goes on the same way, but feathering compound into a corner is trickier. Switch to a 2- or 3-inch putty knife for the area closest to the corner, and expect to apply one extra coat to fully hide the patch edge where it meets the trim or adjacent wall. Sand carefully—corners are easy to over-sand.

Ellen has renovated three houses, killed more seedlings than she admits, and writes about both.