This article may contain affiliate links. If you buy through them we may earn a commission at no extra cost to you.
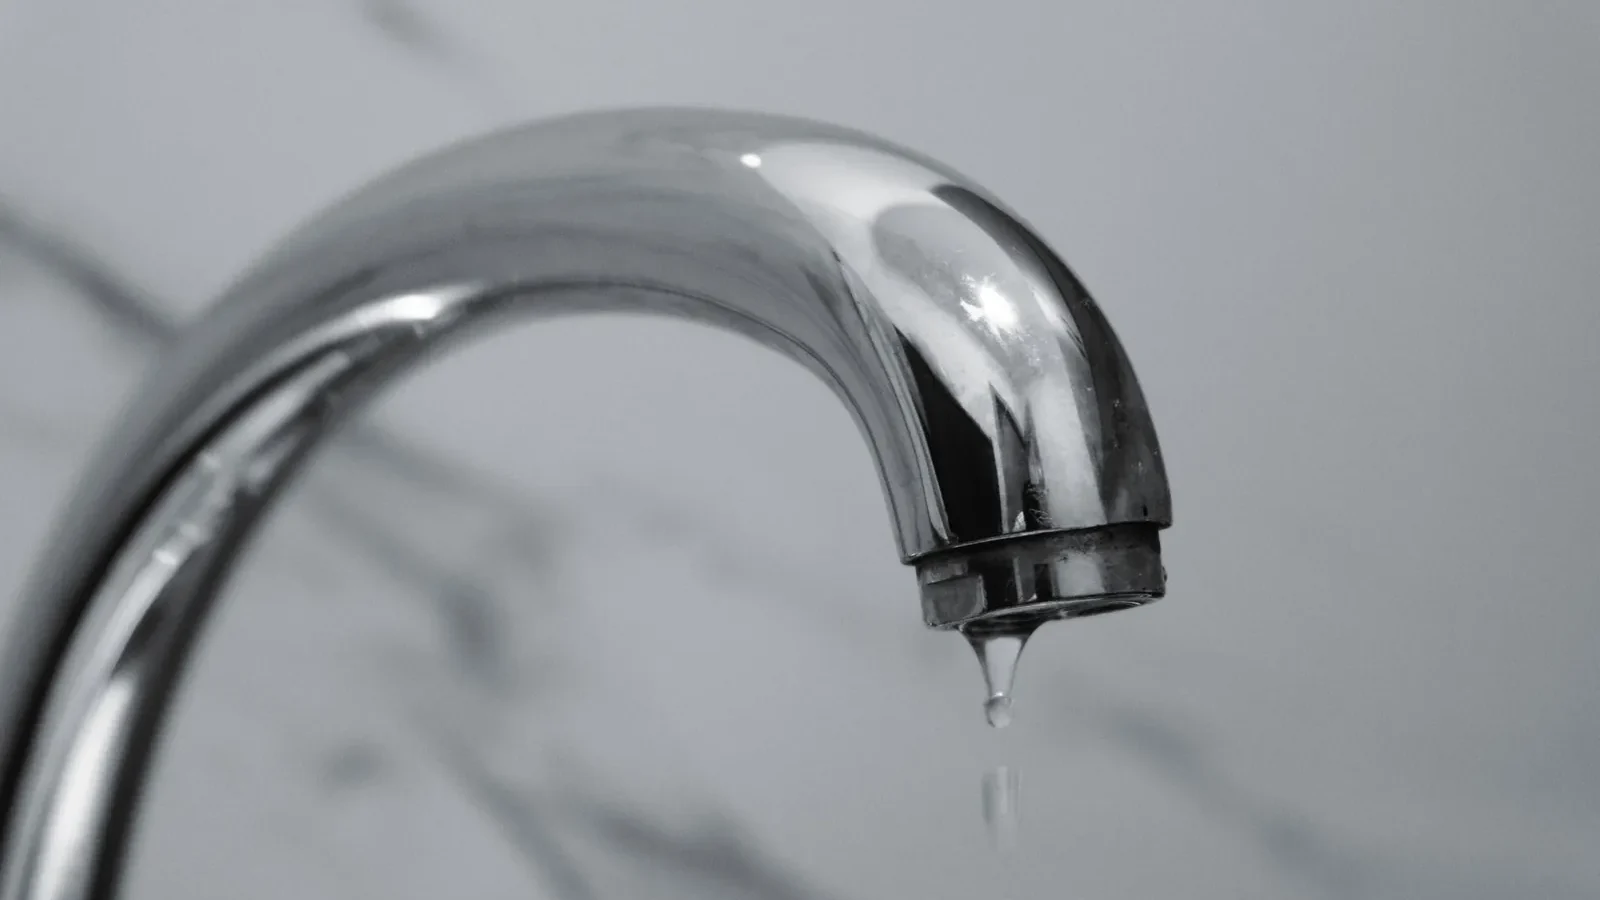
A dripping tap spout almost always means one thing: a worn rubber washer that no longer seals against the valve seat. Replacing it takes 20–40 minutes, costs $3–$8 in parts, and requires only a wrench and a screwdriver. Water pooling under the tap or around the handle is a different problem—likely a failed O-ring or cartridge—and I’ll flag that distinction before you pick up a tool.
Identify Where the Leak Is Coming From
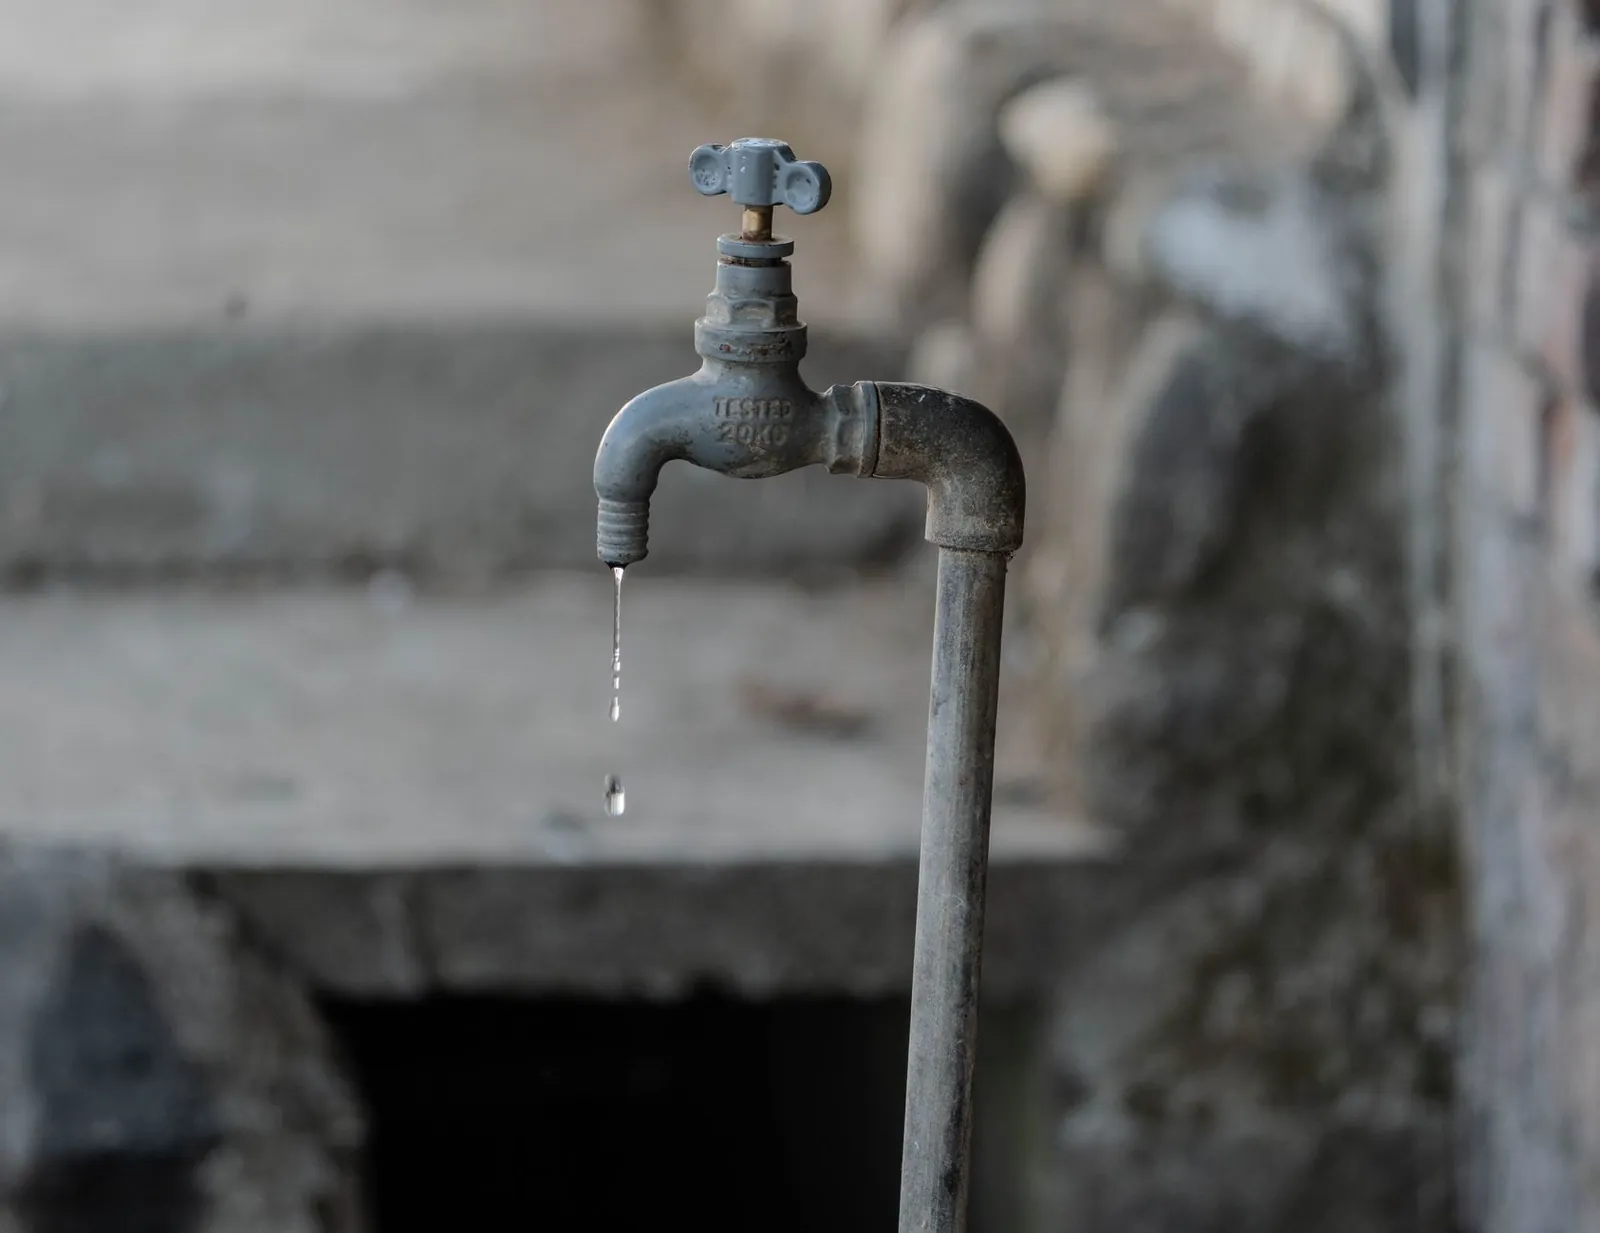
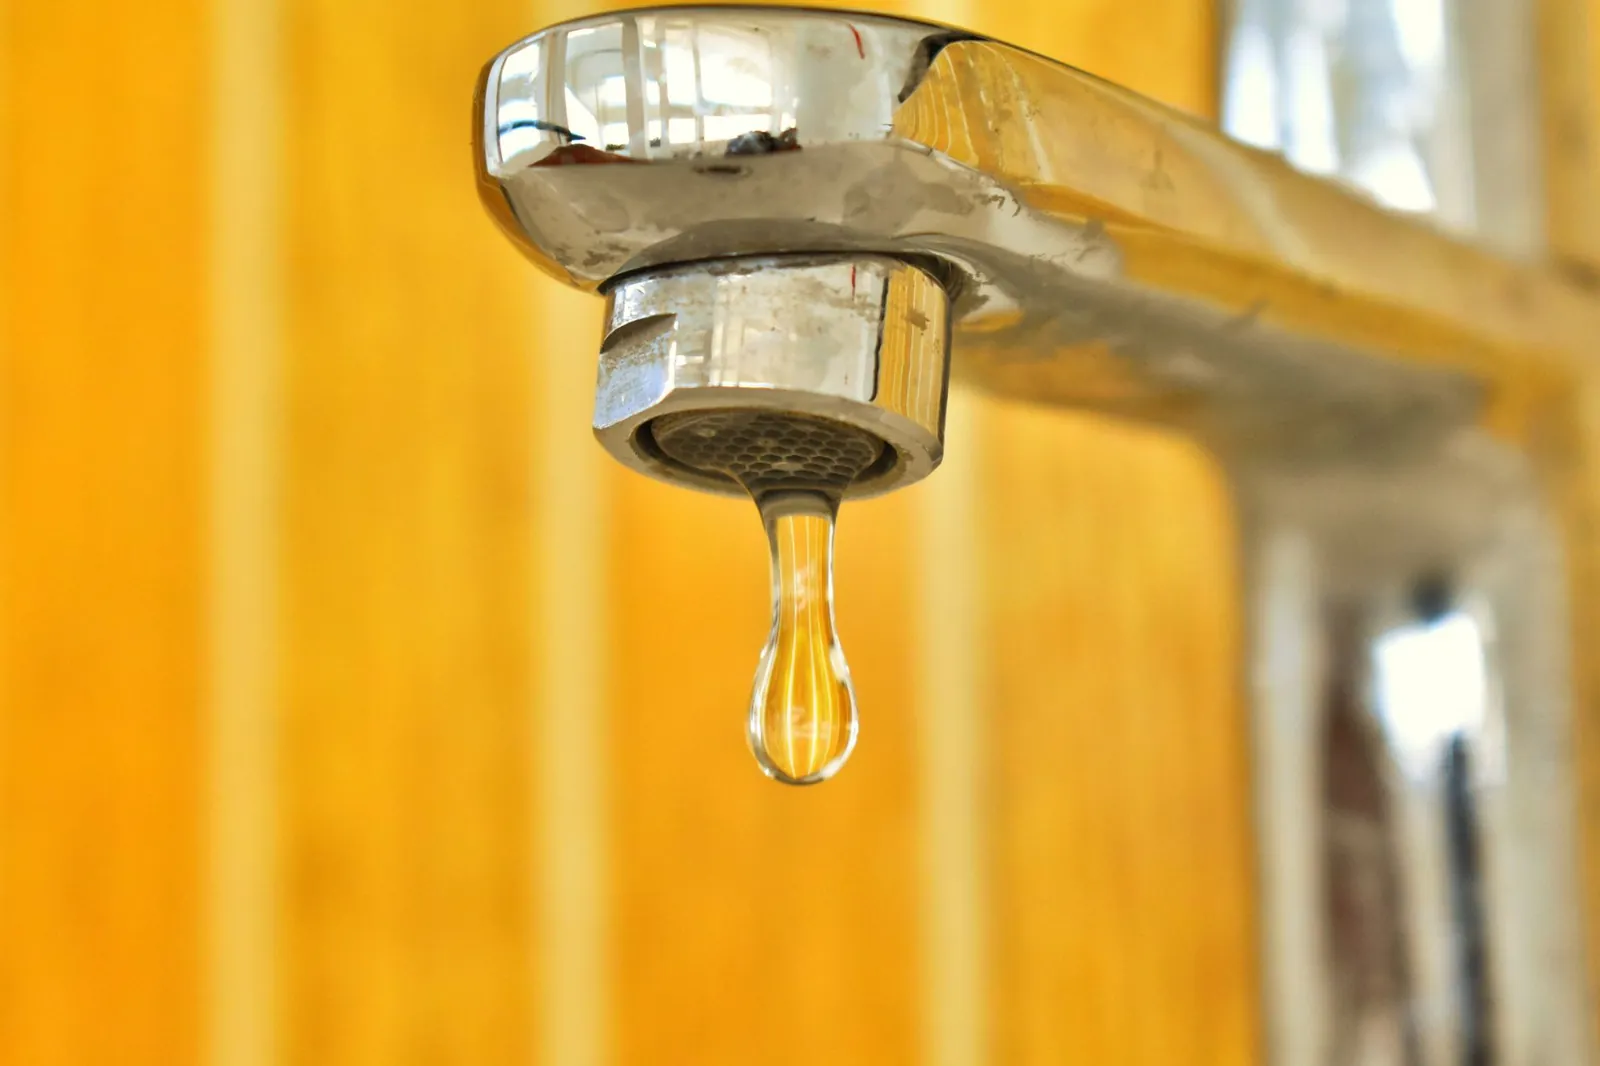
A drip from the spout when the tap is fully closed points to a worn washer—the easiest and cheapest fix in domestic plumbing. The washer sits inside the tap body and compresses against the valve seat to stop flow. After roughly 3–5 years of normal use it hardens and loses its seal.
Water appearing under the sink or weeping from around the handle is a different fault: a damaged O-ring, a corroded valve seat, or a faulty cartridge. Those repairs are slightly more involved; the cartridge job is covered separately in our guide on how to replace a tap cartridge. The steps below assume a spout drip.
Gather Your Tools and Materials
Most of this will already be in your toolkit. Anything missing costs a few dollars at a hardware store.
Tools
- Adjustable wrench (8–10 inch)
- Flathead and Phillips screwdrivers
- Tap spanner or valve seat removal tool (optional, $5–$8)
- Bucket or old towel to catch drips
Materials
- Assorted washer kit ($3–$8)—tap washers run 1/2 inch to 3/4 inch, and a kit covers all sizes
- Plumber’s grease or silicone-based lubricant ($4–$6)
- Replacement O-rings ($2–$4, worth having on hand)
Buy the assortment pack rather than a single washer. You’ll likely have other taps in the house that are quietly on their way out, and the extras cost almost nothing extra.
Turn Off the Water Supply
Look under the sink for isolation valves—small slotted knobs on the hot and cold pipes. Turn them clockwise until they stop. No isolation valves? Shut off the main stopcock, usually near the water meter or where the supply line enters the house.
Once the supply is off, open the leaking tap fully to release line pressure and drain any water sitting in the pipes. Put a towel or bucket underneath before you start loosening anything.
Disassemble the Tap
Remove the handle
Find the small decorative cap on top of the handle—often a colored dot marked H or C, or simply a plastic plug. Pry it off gently with a flathead screwdriver and remove the screw beneath. Slide the handle straight up and off. If it’s stuck after years of mineral buildup, wiggle it side to side rather than yanking; forcing it can crack older plastic handles.
Unscrew the packing nut
Beneath the handle sits a hexagonal packing nut. Turn it counterclockwise with the adjustable wrench, steadying the tap body with your other hand if it tries to spin. You don’t need to remove the nut completely—loosen it until you can access the spindle below.
Remove the spindle
Turn the tap handle counterclockwise, as if opening the tap, until the spindle rises out of the tap body. At its base you’ll see a small brass screw holding the washer in place.
Replace the Washer
Remove the old washer
Unscrew the washer retaining screw with a flathead screwdriver. Work over a towel—the screw is small and will roll if it hits the floor. Once it’s out, the old washer pulls straight off the spindle.
Fit the new washer
Match the replacement to the old washer by size. Slide it onto the spindle and tighten the retaining screw firmly—snug, not crushed. An over-tightened screw deforms the washer and shortens its life. If the original screw is corroded, swap it for a new brass screw from the kit.
Check the valve seat
Before reassembling, look into the tap body at the valve seat—the small cone or ring the washer presses against. Run your fingertip around it. A smooth seat means the new washer will seal cleanly. A pitted or rough seat will chew through a new washer in a matter of months.
A new washer pressed against a rough valve seat will wear out in months, so take 30 seconds to feel the seat with your finger and smooth any obvious damage.
For light roughness, a few passes with 220–400 grit sandpaper is enough. For a badly pitted seat, use a tap reseating tool ($5–$8) or replace the seat insert entirely. Skipping this step when the seat is damaged is the single most common reason a washer repair fails within weeks.
Reassemble the Tap
- Insert the spindle back into the tap body and turn it clockwise until it seats fully.
- Tighten the packing nut with the wrench—firm, but stop before the spindle becomes stiff to turn.
- Slide the handle back on and secure it with the screw.
- Press the decorative cap back into place.
Before the cap goes on, work a small amount of plumber’s grease into the spindle threads and around the packing nut. It takes ten seconds and keeps the mechanism turning smoothly for years.
Turn the Water Back On and Test
Open the isolation valves slowly—counterclockwise, a quarter-turn at a time—to avoid a pressure surge. Run the tap fully for about 10 seconds to flush any debris disturbed during the repair, then close it completely and watch the spout for 60 seconds.
No drip means you’re done. If water still escapes, turn the supply off and check three things: washer size (wrong size won’t seal), retaining screw tightness (loose screw lets the washer shift), and valve seat condition (rough seat prevents a full seal). A properly fitted washer on a clean seat stops the leak immediately—there’s no bedding-in period.
Frequently asked questions
How long does a tap washer last?
Typically 3–5 years with normal use. Hard water, water pressure above 80 psi, and heavy daily use all shorten that. If you’re replacing a washer more than once a year on the same tap, check the valve seat for damage and test your line pressure with an inexpensive gauge (under $15 at most hardware stores).
Can I use any washer in my tap?
No. Standard sizes are 1/2 inch, 5/8 inch, and 3/4 inch. The wrong size will either fall out or fail to seal. Match the new washer to the old one by holding them side by side, or take the old washer to the hardware store. An assortment kit removes the guesswork entirely.
What if the tap still leaks after I replace the washer?
The valve seat is the most likely cause—remove the spindle again and inspect it closely. Light pitting responds to 220–400 grit sandpaper; deeper damage needs a reseating tool or a replacement seat insert. If the leak is coming from the handle or the base rather than the spout, the O-rings or cartridge need attention instead.
Do I need a plumber for this job?
Not for a straightforward washer replacement. The tools are basic, the parts are cheap, and nothing here requires specialist knowledge. Call a plumber if the packing nut won’t budge despite reasonable force, the valve seat is severely corroded beyond what a reseating tool can fix, or water leaks from a new location after reassembly.
How much water does a dripping tap waste?
A tap dripping once per second loses roughly 3,000 gallons a year. At average U.S. water rates that’s $30–$50 annually—enough to pay for the repair parts several times over, and that’s before accounting for hot-water energy costs if the leaking tap is on the hot side.

Ellen has renovated three houses, killed more seedlings than she admits, and writes about both.