This article may contain affiliate links. If you buy through them we may earn a commission at no extra cost to you.
A worn tap cartridge causes dripping, low pressure, or temperature control problems. Replacing it yourself takes 30–45 minutes, costs $15–$80 depending on your tap model, and requires only basic tools. Most cartridges are interchangeable within the same brand and style, so identifying your tap type is the first step.
What is a tap cartridge and why replace it?
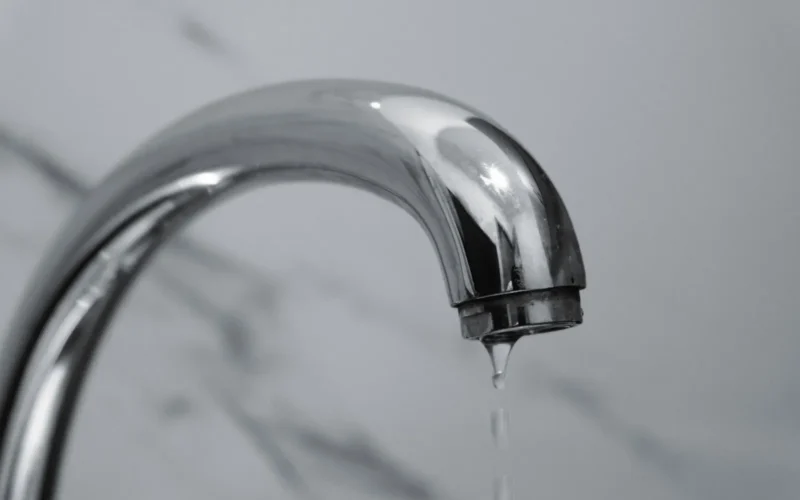
A cartridge is the internal valve mechanism that controls water flow and temperature. After 5–10 years of regular use, seals crack, springs weaken, and the cartridge can no longer hold back water. The result: constant dripping even with the handle fully off, or a handle that’s become stiff to turn.
Replacing the cartridge is cheaper and faster than replacing the entire tap. A new cartridge costs $15–$80; a full tap replacement runs $50–$300 plus labour. The cartridge swap also avoids disconnecting supply lines and re-sealing the tap body to the sink.
Identify your tap type and cartridge
Cartridges are brand-specific and often model-specific within a brand, so buy nothing until you know exactly what you need.
- Look for a brand name stamped on the tap body or printed on the supply connections under the sink. Common brands include Moen, Kohler, Delta, Grohe, and Bristan.
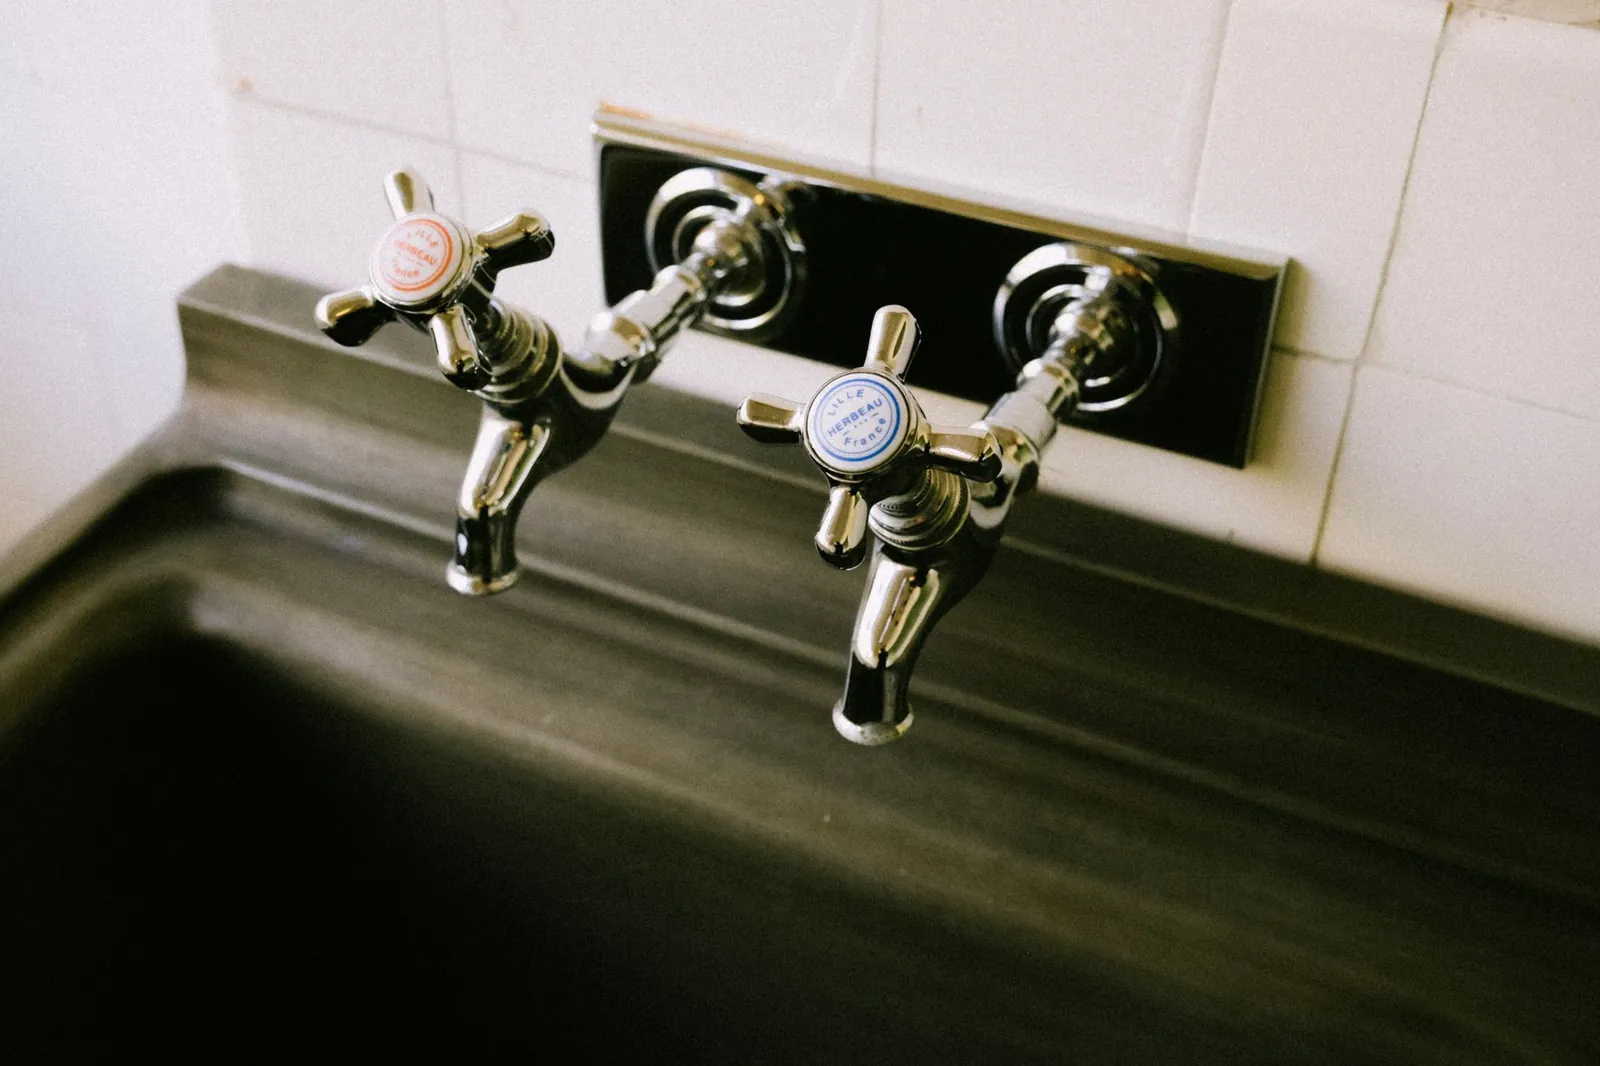
- Note the handle style: single-lever, dual-lever, or a round or square cap on top.
- If you have the original paperwork, it will list the model number.
- Photograph the tap and contact the manufacturer’s helpline — they’ll give you the exact cartridge part number.
- Or remove the old cartridge first and take it to a plumbing supplier; they can match it by sight or cross-reference the part number stamped on the body.
Order the replacement before starting the job. Basic single-lever cartridges start around $15; premium thermostatic or dual-control models reach $80.
Tools and materials you’ll need
- Adjustable wrench or brand-specific cartridge removal tool — removal tools cost $8–$15 and grip the cartridge body cleanly; a wrench works but can slip.
- Flathead and Phillips screwdrivers — for handle screws and prying off caps.
- Pliers — to remove retaining clips or collars.
- Allen key or hex wrench — some handles use hex screws instead of Phillips.
- Towels or a small bucket — residual water will drip when the cartridge comes out.
- Cartridge puller or corkscrew-style extractor — optional, $12–$25; worth it if the cartridge is seized with mineral scale.
- Replacement cartridge — matched to your tap brand and model.
- Plumber’s grease or silicone-based lubricant — often included in the cartridge box; buy separately for $5–$8 if not.
Coat the new cartridge with plumber’s grease before installation to ensure smooth operation and a watertight seal.
Step-by-step replacement process
1. Turn off the water supply
Find the isolation valves under the sink — usually oval knobs on the hot and cold supply pipes. Turn both clockwise until they stop. Open the tap to release residual pressure. If there are no isolation valves, shut off the main supply to the house.
2. Remove the handle
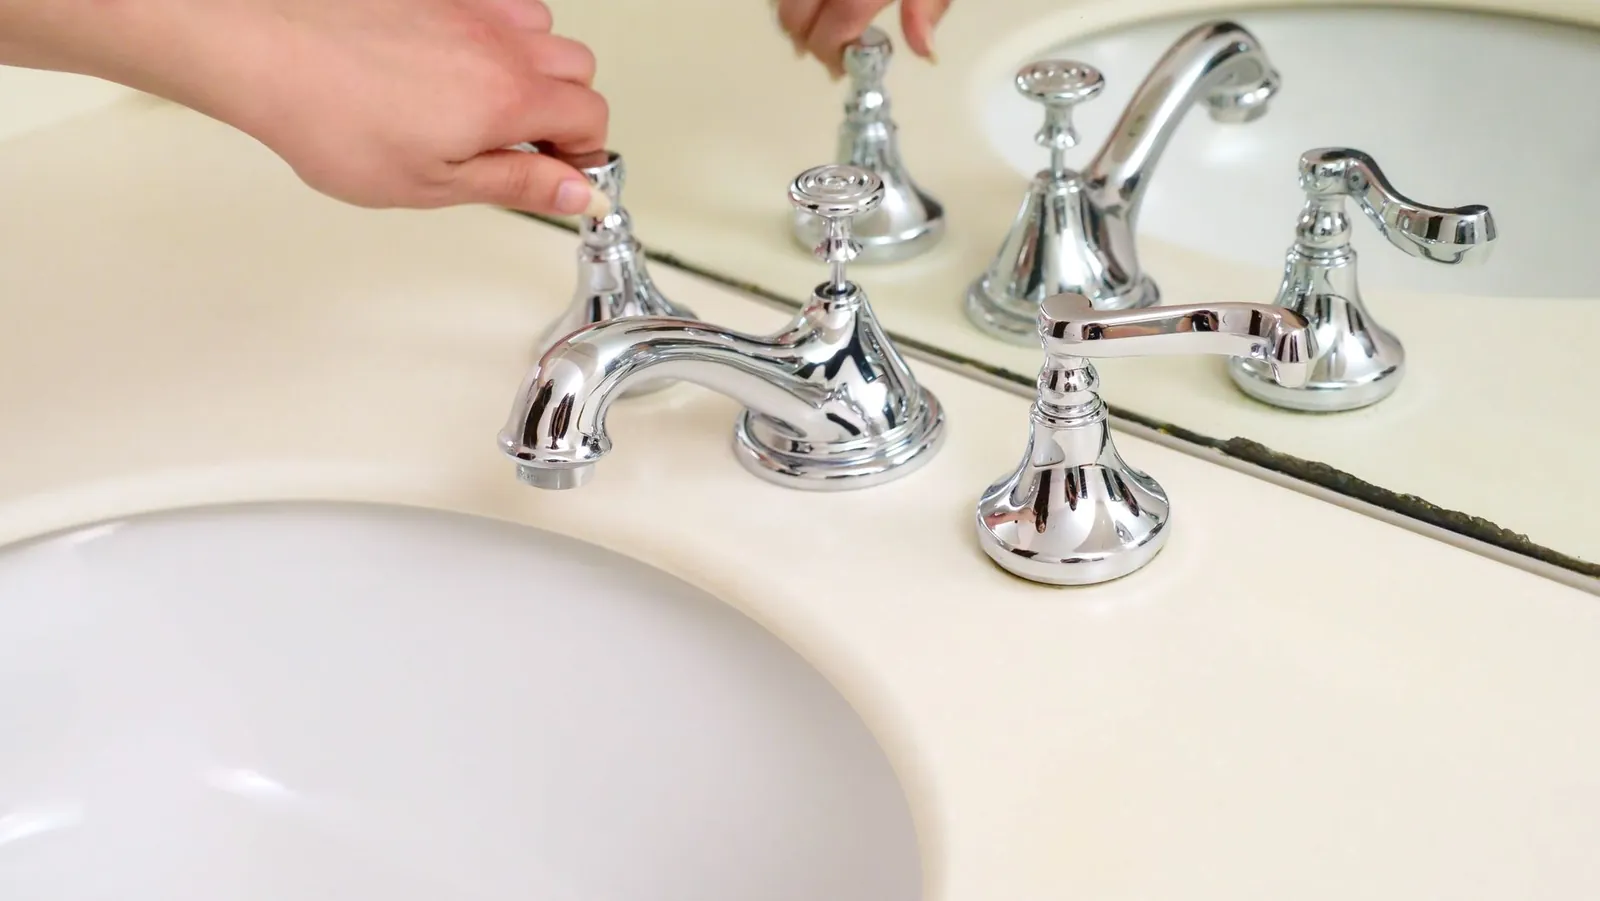
Most taps hide the handle screw under a small plastic or metal cap. Prise it off with a flathead screwdriver, unscrew the handle screw, and lift the handle away. Some handles use a grub screw on the side rather than the top — check both locations before forcing anything.
3. Remove the decorative collar and cartridge collar
Below the handle sits a decorative escutcheon or collar. Unscrew it anticlockwise by hand or with a wrench. Underneath you’ll find the cartridge retaining collar or clip — either a metal ring with a set screw or a clip that pulls straight out. Remove it and set it aside.
4. Extract the cartridge
Grip the cartridge body with your removal tool or adjustable wrench and turn anticlockwise firmly and steadily. If it won’t move, apply penetrating oil around the collar and wait 15–30 minutes before trying again. Some cartridges have a pull-tab; grasp it and pull straight out. Once it breaks free, pull it straight — angling it can damage the tap body.
5. Clean the tap body
Wipe the inside of the tap body with a clean cloth to clear debris, scale, and old grease. Mineral deposits can stop the new cartridge seating properly. Heavy scale responds well to a cloth soaked in white vinegar; wipe, wait five minutes, then wipe again.
6. Install the new cartridge
Most cartridges have a notch or flat edge that must face a specific direction — usually marked on the tap body or the cartridge itself. Apply a thin coat of plumber’s grease to the cartridge body, align the notch, and push it straight in until it stops. A slight turn may be needed to find the right orientation; don’t force it.
7. Secure the cartridge
Replace the retaining collar or clip. Hand-tight plus a quarter turn is enough — over-tightening can crack the collar or distort the cartridge.
8. Reassemble the tap
Screw the decorative collar back on, then replace the handle. Align it to your preferred resting position (typically straight up for fully off) and tighten the handle screw firmly without forcing it.
9. Turn the water back on and test
Open the isolation valves slowly (anticlockwise). Turn on the tap and watch for leaks around the handle and cartridge collar. Run hot and cold for 30 seconds each to purge air from the lines. The handle should move smoothly and the tap should not drip.
Common problems and fixes
Cartridge won’t come out
Mineral buildup is the usual cause. Apply WD-40 around the cartridge collar, wait 15–30 minutes, then tap the wrench gently with a hammer to break the corrosion seal. If it still won’t shift, a cartridge puller — threaded into the top of the cartridge — is worth the $15–$25.
Water still drips after replacement
First check that the cartridge is fully seated and the retaining collar is tight. Dripping from the spout usually means the cartridge is upside down or rotated 180°; remove it, reorient, and reinstall. Leaking from under the handle points to a loose decorative collar.
Handle is stiff or hard to move
Remove the handle and collar, check that the cartridge is fully seated, apply fresh plumber’s grease, and reinstall. Stiffness straight after installation usually means the cartridge is slightly misaligned rather than a faulty part.
Wrong cartridge ordered
Most plumbing suppliers accept returns within 30 days. Keep the receipt and original packaging, and contact the supplier with your tap’s brand and model to confirm the correct part number before reordering.
Cost breakdown
| Item | Cost (USD) | Notes |
|---|---|---|
| Replacement cartridge | $15–$80 | Basic single-lever at the low end; thermostatic models at the high end |
| Cartridge removal tool | $8–$15 | Brand-specific; skip if you have an adjustable wrench |
| Plumber’s grease | $5–$8 | Often included with the cartridge |
| Cartridge puller (if needed) | $12–$25 | Only necessary if the cartridge is seized |
| Total DIY | $15–$80 | Most jobs need only the cartridge; basic tools assumed |
A plumber charges $100–$250 in labour for the same job, so doing it yourself saves most homeowners $50–$200.
When to call a plumber
If the cartridge won’t move after penetrating oil and a puller tool, stop — forcing it risks cracking the tap body, which turns a $25 repair into a full tap replacement. Call a plumber if water keeps leaking after you’ve reinstalled the cartridge correctly, or if the tap is an unusual or very old model and you can’t identify the cartridge. A plumber’s diagnostic visit runs $50–$100 and can save you buying the wrong part twice.
If your tap uses a rubber washer instead of a cartridge — common in older two-handle designs — the process differs slightly. See our guide on how to fix a leaking tap washer.
Frequently asked questions
How long does a tap cartridge last?
Most cartridges last 5–10 years with normal household use. Hard water, high water pressure, and heavy daily use all shorten that range. A tap over 10 years old that’s started dripping is a strong candidate for cartridge replacement before anything else.
Can I use any cartridge in my tap?
No. Cartridges are brand-specific and often model-specific within a brand — a Moen cartridge won’t fit a Kohler tap. Confirm your tap’s brand and model before ordering, or take the old cartridge to a plumbing supplier and ask them to match it.
What if my tap has two handles instead of one?
Dual-handle taps have two cartridges — one for hot, one for cold. The replacement process is identical for each. If only the hot side is dripping, you only need to replace that cartridge.
Do I need to turn off the main water supply?
Not if your tap has isolation valves under the sink. If there are none, shut off the main supply — without it, removing the cartridge will send water spraying into the cabinet. Fitting isolation valves while you’re under there is a practical preventive step.
Why is my new cartridge leaking?
Misalignment is the most common cause. Cartridges have a notch or flat edge that must face a marked direction on the tap body. Remove the cartridge, check the alignment mark, and reinstall. Also confirm the retaining collar is tight and the cartridge is pushed fully home.

Ellen has renovated three houses, killed more seedlings than she admits, and writes about both.